
Painting a metal front door can give a tired entry a cleaner, more considered look, but the paint is only as durable as the surface beneath it. The useful question is not simply which color to choose. It is whether the door is sound, dry, and properly prepared for a finish that can handle sun, rain, daily use, and the temperature swings of an exterior opening.
A straightforward repaint can be a satisfying weekend project. A door with active rust, peeling finish, failed seals, cracked glass, or recurring water at the threshold needs a closer look first. Fresh paint will not correct a drainage or corrosion problem, and it can make the real cause harder to see later. Start by assessing the door honestly, then use the paint system approved for its material and condition.
Decide whether paint is the right fix
Begin with the condition of the existing door, not the color card. Open and close it several times. Check whether it rubs at the threshold, drags on the jamb, sticks around weatherstripping, or allows daylight through an uneven gap. Look at the bottom edge, hinge side, lock edge, glass stops, and the place where the threshold meets the frame. These areas collect the clues that a face-only repaint can miss.
Minor fading, small chips, superficial scratches, and a stable older coating are often good candidates for repainting. Peeling paint, blistering, visible corrosion, or a finish that is lifting around edges requires more preparation. If a door is repeatedly wet from a sprinkler, gutter, or poor drainage, correct that exposure before repainting. Otherwise the new coating may fail in exactly the same location.
It also matters whether you are looking at a standard insulated steel door, a decorative iron entry, or a door with a factory-applied specialty finish. If the original manufacturer has care or refinishing instructions, follow those first. For an existing custom entry, use the iron-door rust and care guide to separate ordinary maintenance from corrosion that needs professional attention.
Take a few clear photos before beginning. Photograph the complete door, the bottom edge, hardware, weatherstripping, threshold, and any damaged area. These give you a record of where the problem began, and they make it easier to match details if you later need a paint supplier or door professional to advise on the finish.
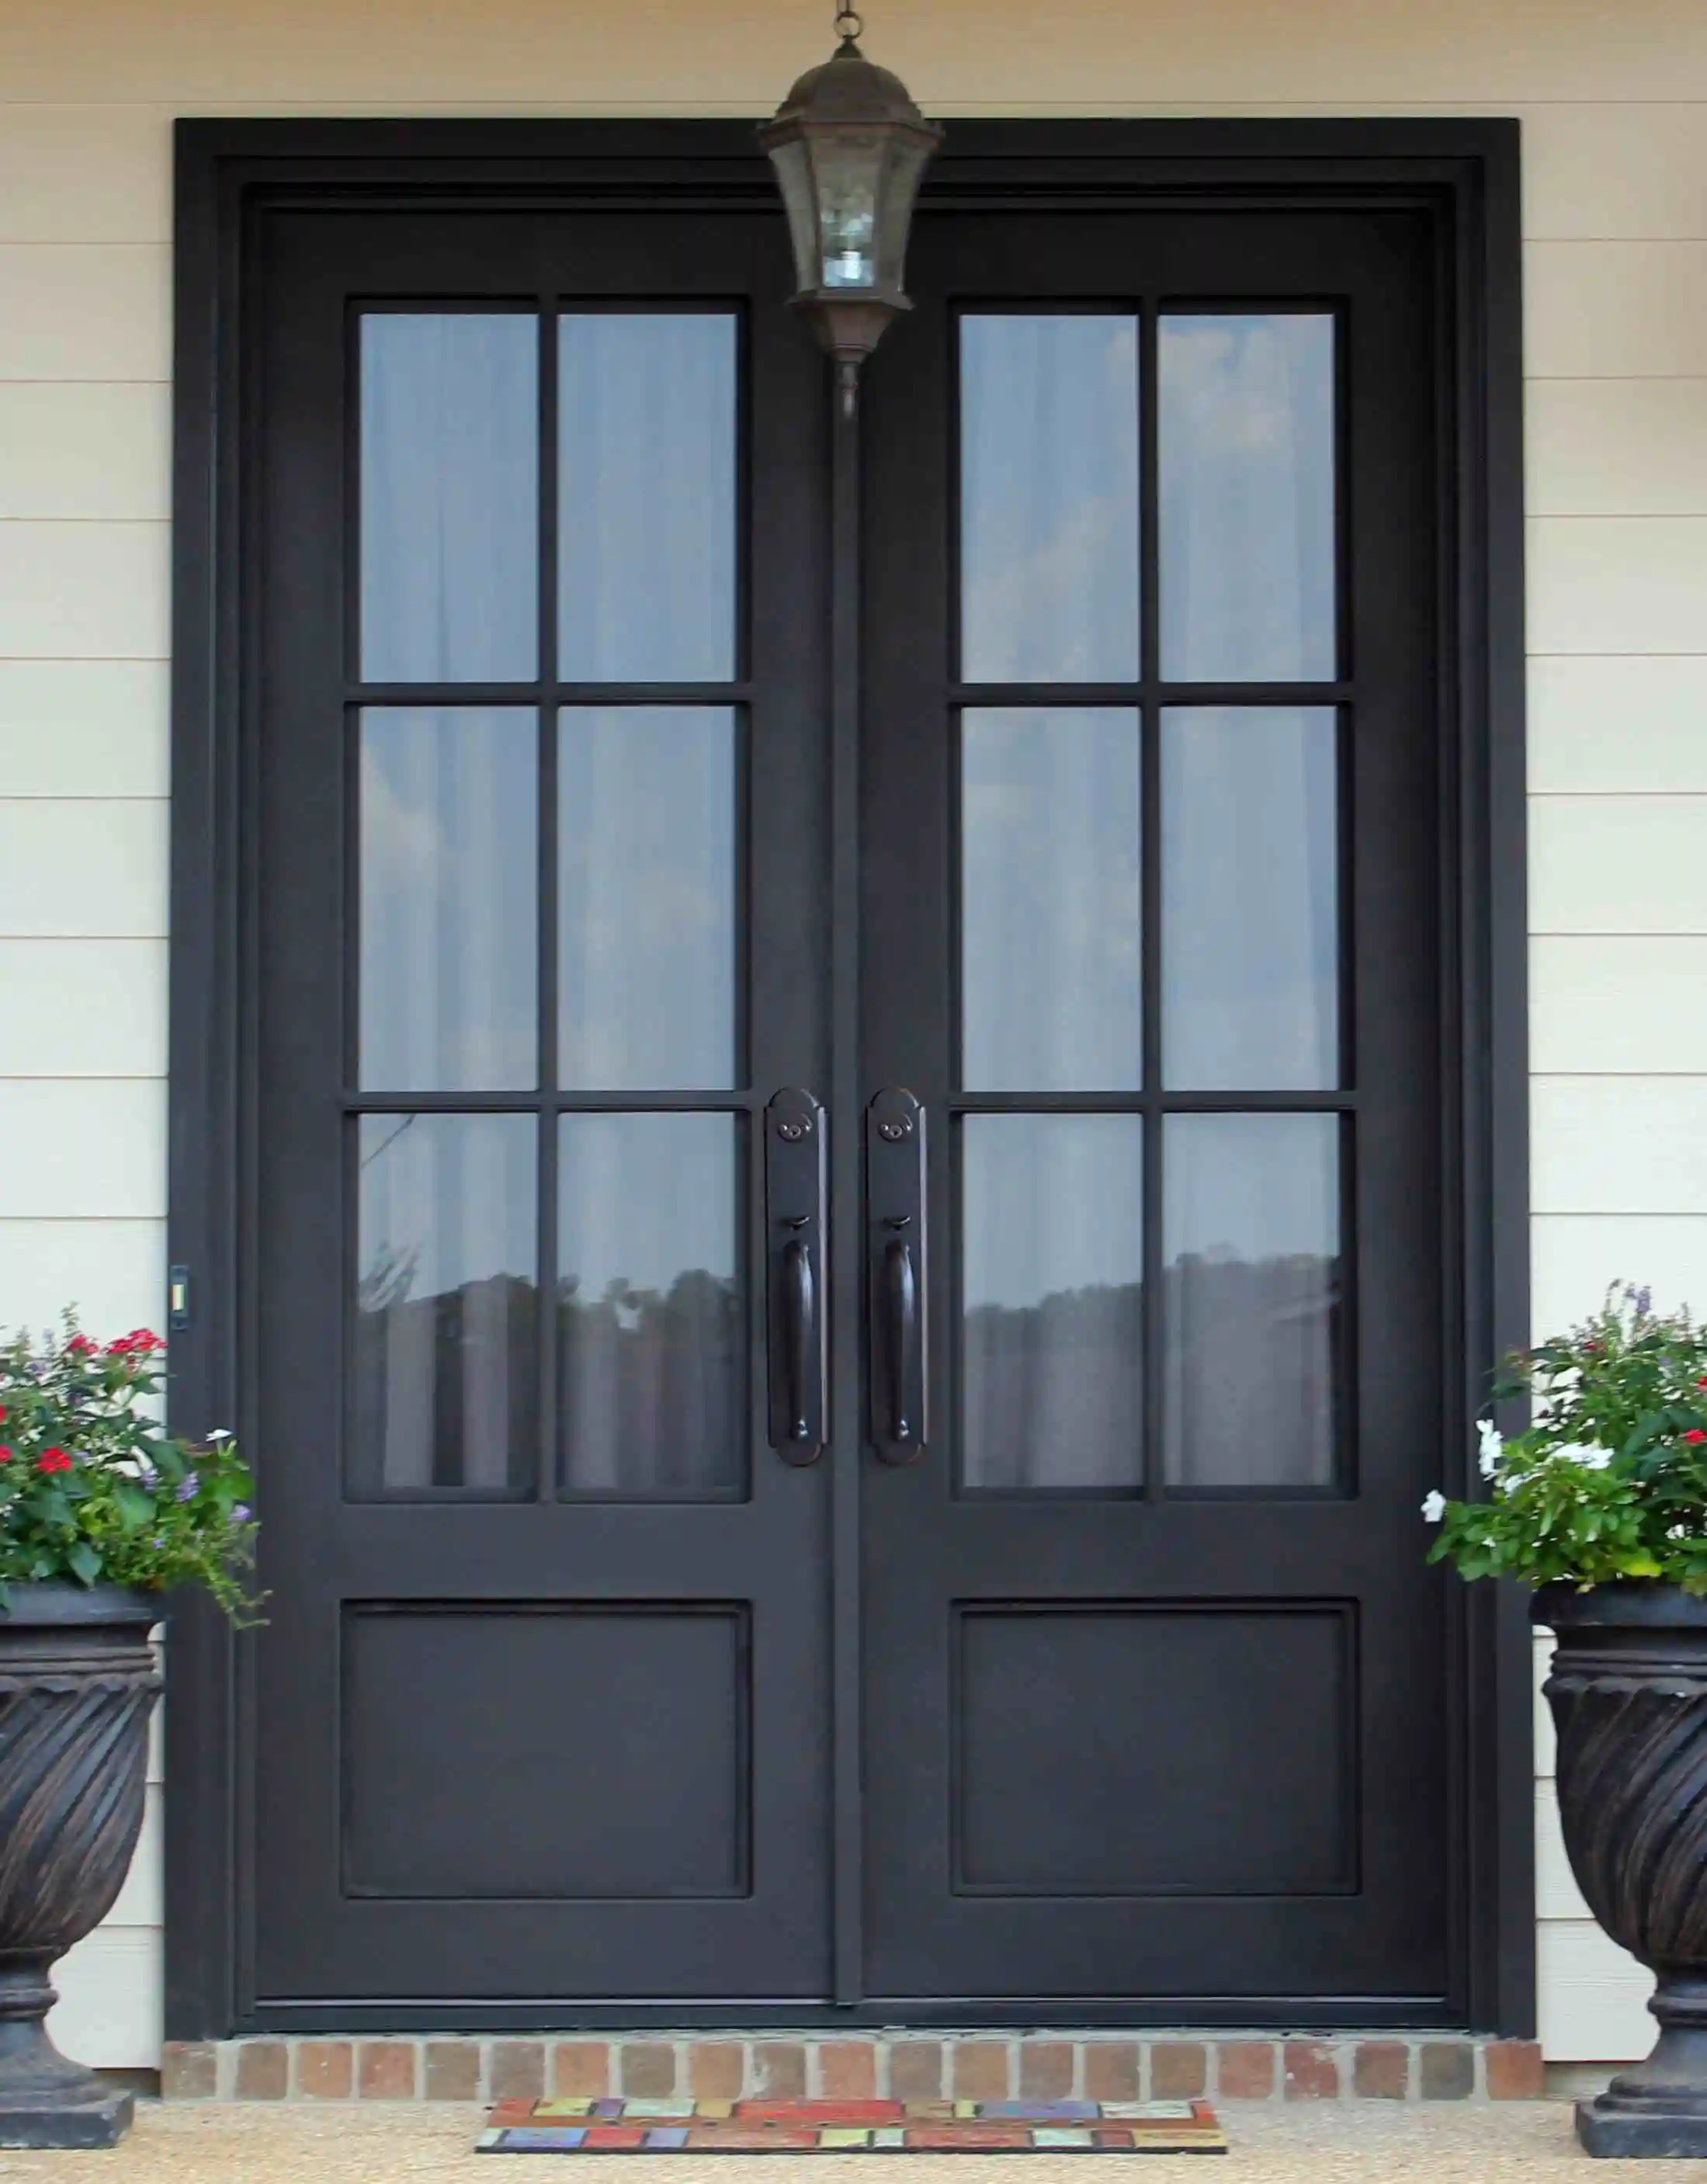
Choose a paint system made for exterior metal
Exterior metal needs a coating system that can adhere to the existing surface and tolerate the conditions at the entry. Read the label for the product you plan to use. It should explicitly approve the material you are painting and explain its primer requirements, surface preparation, temperature range, dry time, and recoat window. Do not assume a general interior wall paint or an unlabeled leftover can is suitable because it happens to be the right color.
Direct-to-metal coatings are commonly used on metal surfaces, while rust-inhibiting primer may be needed where preparation exposes bare metal or where rust has been removed. This Old House’s exterior metal-door guide likewise stresses that loose coating and rust must be addressed before a new finish goes on, and that a product formulated for metal is the appropriate starting point.
Sheen changes the look and how easily the door shows imperfections. A flatter coating can soften minor texture, while a satin or semi-gloss finish is often easier to wipe clean and can give an entry more definition. The right choice depends on the door’s profile, the amount of direct sun, and the condition of the surface. A glossy finish on a badly prepared flat panel is unforgiving. A finish that feels right on a small swatch can look very different across a full south- or west-facing door.
Color deserves the same practical attention. Dark colors can make an entry feel tailored and grounded, but a metal door in hard direct sun can become very hot. Test your short list on a discreet sample board or a removable section where possible, then view it morning, midday, and late afternoon. The front door color guide can help you judge the finish against the brick, stone, siding, roof, and hardware rather than picking it in isolation.
Prepare the door carefully before opening the paint
Preparation is the part that determines whether a repaint lasts. Choose a dry stretch of weather, within the temperature and humidity range on the product label. Work in shade when possible. Glidden’s exterior metal-door guidance warns against painting a sun-heated door, where heat can undermine the finish, and recommends preparing the surface based on whether the old paint is stable or peeling.
Start by removing or carefully masking the hardware, glass, weatherstripping, and surrounding wall surfaces. Do not paint weatherstripping, seals, hinges, locks, strike plates, or moving parts. The manufacturer instructions for a steel entry system specifically caution against coating weatherstripping and other vinyl sealing components, because paint can interfere with their fit and function.
Wash the door to remove dirt, oils, pollen, and residue. Let it dry fully. Then lightly scuff-sand intact painted surfaces to give the new coating a sound mechanical bond. Remove all loose paint and address rust according to the primer or paint manufacturer’s instructions. This is not an invitation to aggressively grind a door back to bare metal. The aim is a clean, stable surface with no lifted edge waiting to take the new paint with it.
Remove sanding dust thoroughly before priming or painting. Vacuum carefully, wipe with the cleaner the coating system calls for, and allow the door to dry. This steel-door finishing guide similarly recommends light scuff sanding, a clean dry surface, protected hardware and seals, and uniform coverage across the door’s exposed faces and edges.
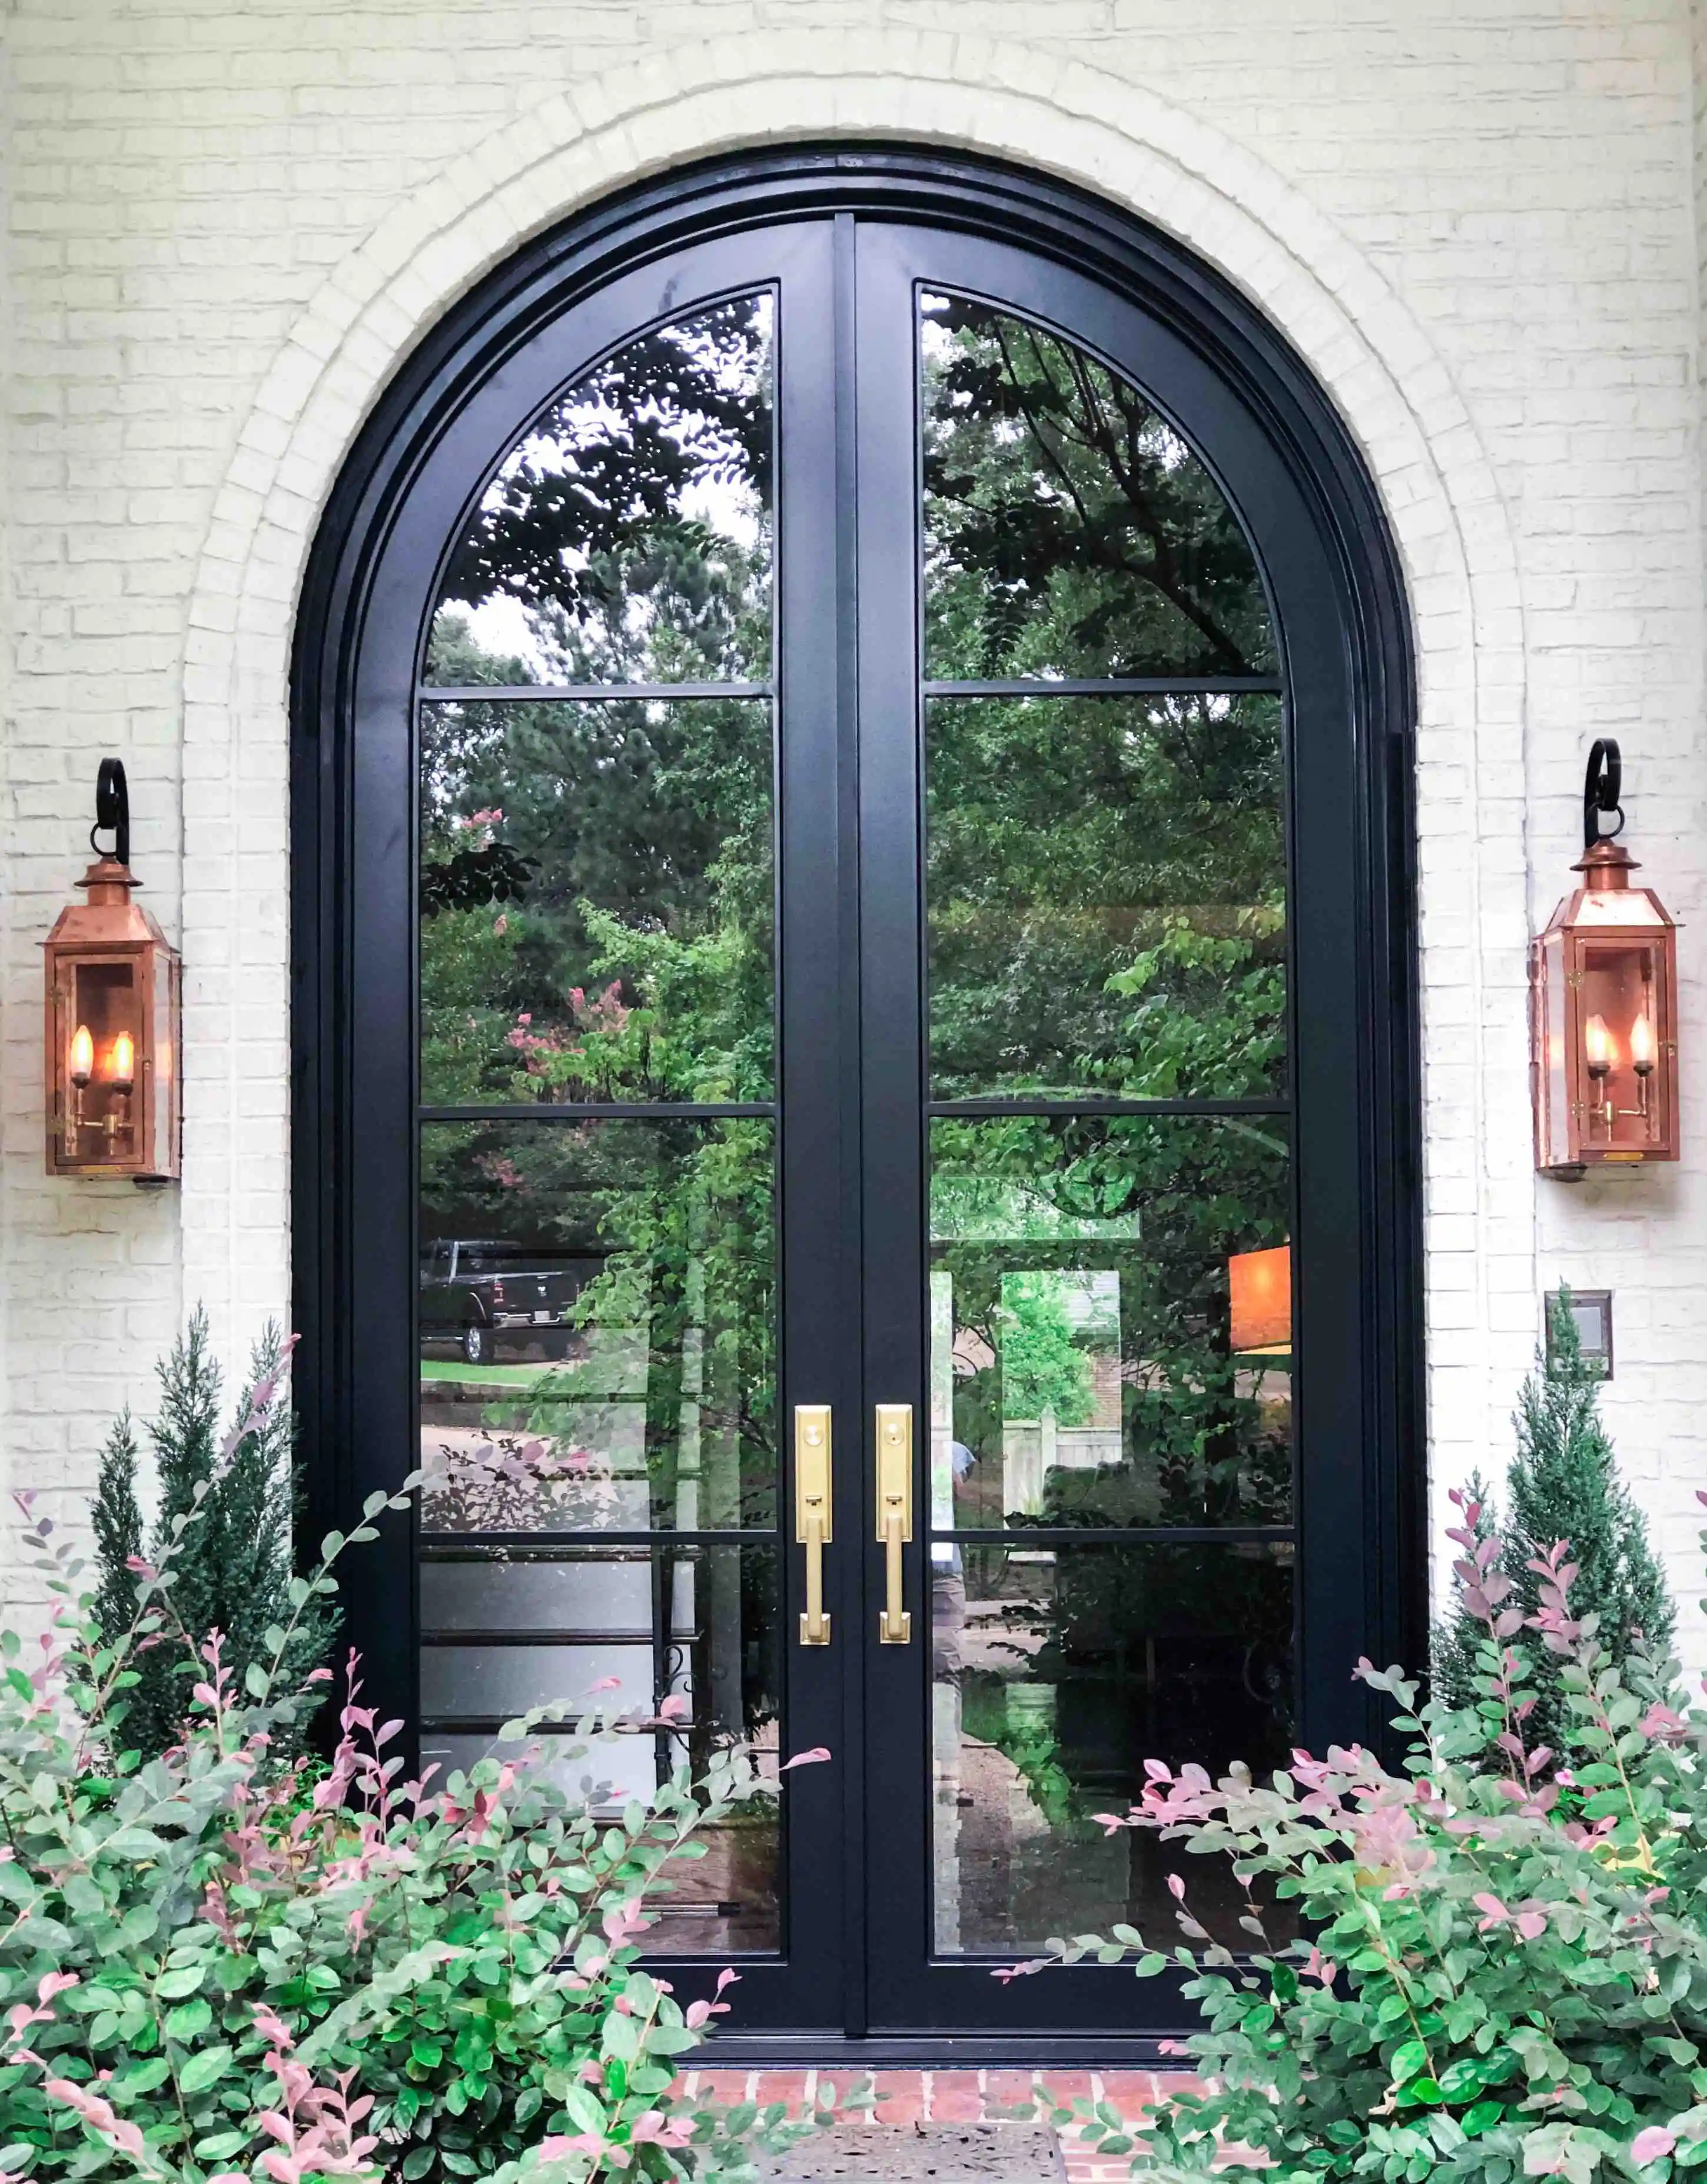
Apply paint with control, not speed
Once the door is clean, dry, and masked, follow the paint manufacturer’s instructions for primer and finish coats. Use a brush where a roller cannot reach, such as narrow profiles, panel edges, and around glass. Use a quality small roller on larger flat areas to keep the film even. Work from recessed details outward, then finish broad areas with light, consistent passes in one direction.
Thin, even coats are safer than trying to cover the door in one heavy pass. Let each coat dry for the full time stated on the label before recoating, closing the door, reinstalling hardware, or allowing the weatherstripping to rub against the surface. Home Depot’s front-door painting guide makes the same practical point: preparation, compatible primer, thin coverage, and adequate dry time matter more than rushing toward a finished color.
Paint one logical area at a time. For a panel door, complete the recessed areas and details before moving to stiles and rails. For a door with decorative ironwork or glass, keep a clean cloth and the manufacturer-approved cleanup material nearby so drips can be addressed immediately, without flooding the glass stop or seal. Pause periodically and step back. A low-angle view across the finish can reveal dry roller edges, runs, missed corners, or a heavy line near a glass panel before it dries into the surface.
If you are painting in place, plan how the door can remain open long enough to cure without leaving the home exposed. Do not wedge a freshly painted door against a painted jamb or close it against weatherstripping early. Those shortcuts leave marks that are much harder to correct than a patient final day of drying.
Protect the entry after the paint has cured
Reinstall hardware and weatherstripping only after the coating has dried and cured as the manufacturer directs. Then inspect the door’s operation. It should latch without scraping the new finish, seal without pulling paint from the edge, and clear the threshold without dragging. If it does not, correct the adjustment or get help rather than forcing the door through the first few weeks of use.
Keep the maintenance simple. Wash off pollen and grime with the cleaner your paint manufacturer recommends. Check the lower edges, exposed corners, and hardware areas a few times each year. Address small chips before water can work underneath the coating. Clear leaves and debris from the threshold, and watch where gutters, sprinklers, and planters direct water. These habits matter more than adding a clear coat that the paint system did not call for.
Paint is part of the entry, not the entire entry. Clean hardware, working seals, reliable drainage, and a finish that suits the house will do more for the arrival than a trendy color alone. For a broader view of how the door connects to the facade, lighting, and approach, read the front door curb appeal guide.
Know when to call for help instead
Stop before painting if you find deep corrosion, a soft or deteriorated surrounding frame, cracked or loose glass, a persistent leak, a door that will not latch, or an opening that has moved out of square. The same applies when the door has an unknown specialty finish, extensive decorative ironwork, or historic details that could be damaged by casual sanding or stripping. Those are repair questions first and paint questions second.
A custom entry also deserves a different standard. The finish should support the design, but the door has to operate, seal, drain, and sit comfortably in the opening. Luxury Iron Doors works from the complete entry, from the opening and configuration through glass, finish, fabrication, delivery, and installation. If a repaint is no longer the right fix, review custom wrought iron doors, explore the door collection, or share project photos and dimensions for a more complete conversation.
Plan the entry, not just the color
When the opening needs more than a fresh coat, start with the whole door.
Share the condition of the entry, exterior photos, and the direction you are considering. Luxury Iron Doors can help shape a complete custom solution around the home.
Request a quoteFrequently asked questions
What kind of paint should I use on a metal front door?+
Use an exterior paint that the manufacturer specifically approves for metal. Direct-to-metal products are made for this surface, but the label, the door manufacturer guidance, and the condition of the existing finish should determine the final system.
Do I need to remove a metal front door before painting it?+
No. Painting in place can be practical when the weather is stable and the door can remain open without creating a security or weather problem. Removing it can make edges and the overall surface easier to reach, but it adds handling risk and is not automatically the better choice.
Do I need primer on a previously painted metal door?+
It depends on the paint system and the door condition. Primer is especially important where bare metal, rust treatment, repairs, or a major color change are present. Follow the product label rather than assuming a paint-and-primer claim covers every situation.
Can I paint an iron door myself?+
A simple, sound metal door can be a reasonable DIY project. A custom iron door with extensive glass, rust, damaged finish, complex ironwork, or water-related issues deserves a professional assessment first, so cosmetic paint does not cover a problem that needs repair.