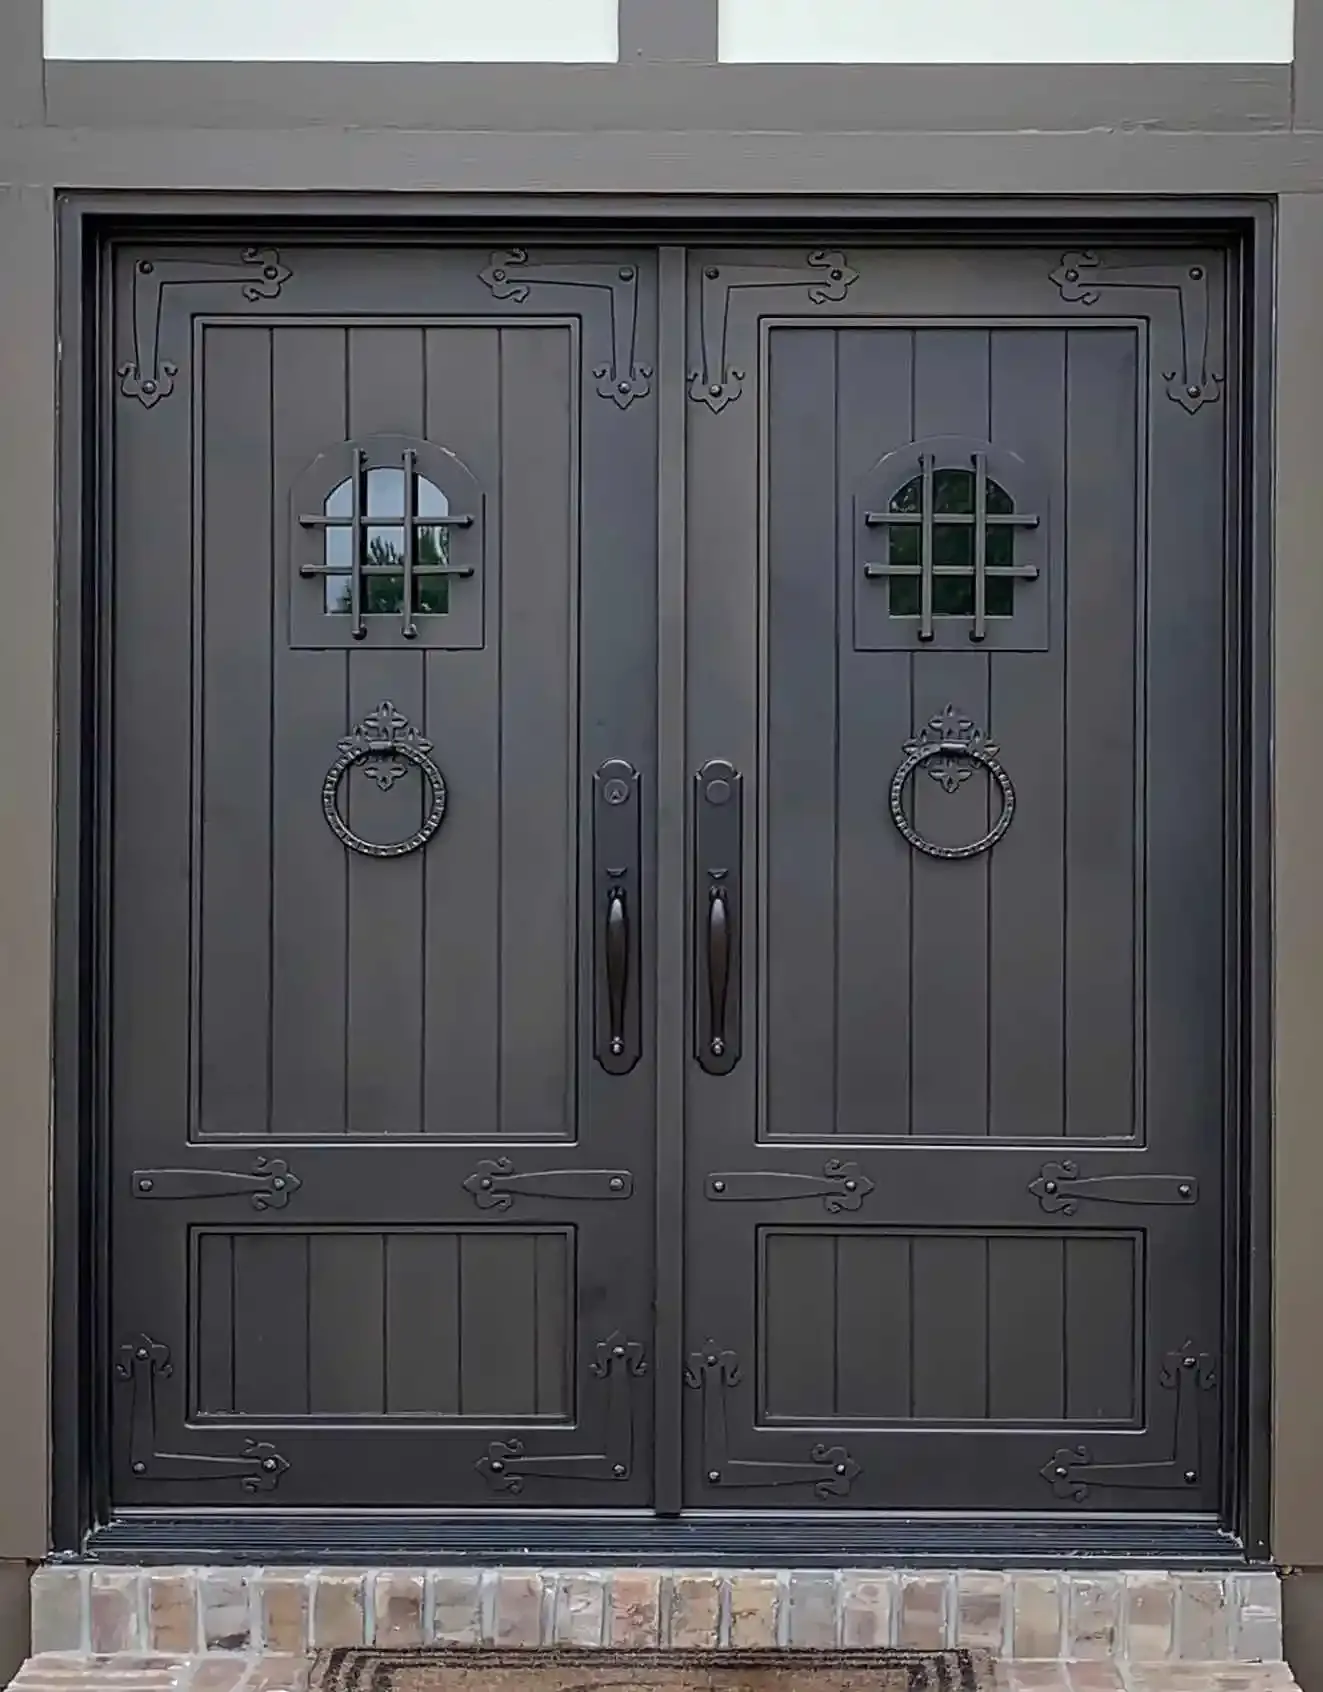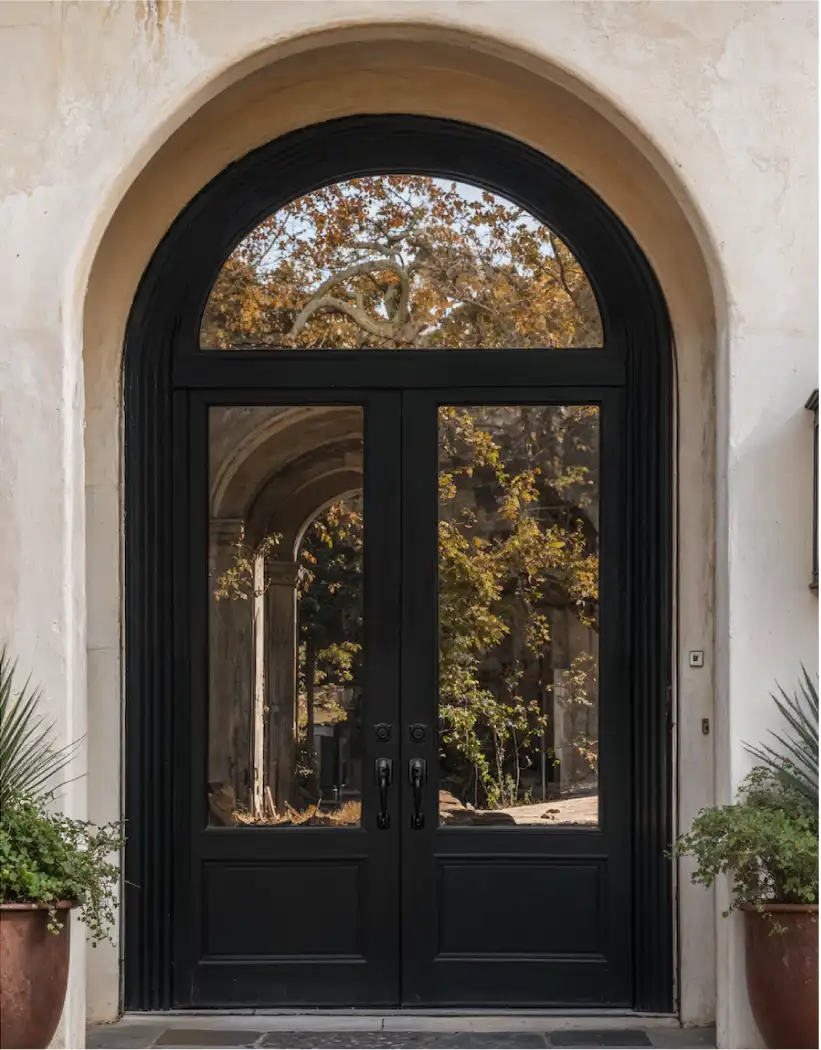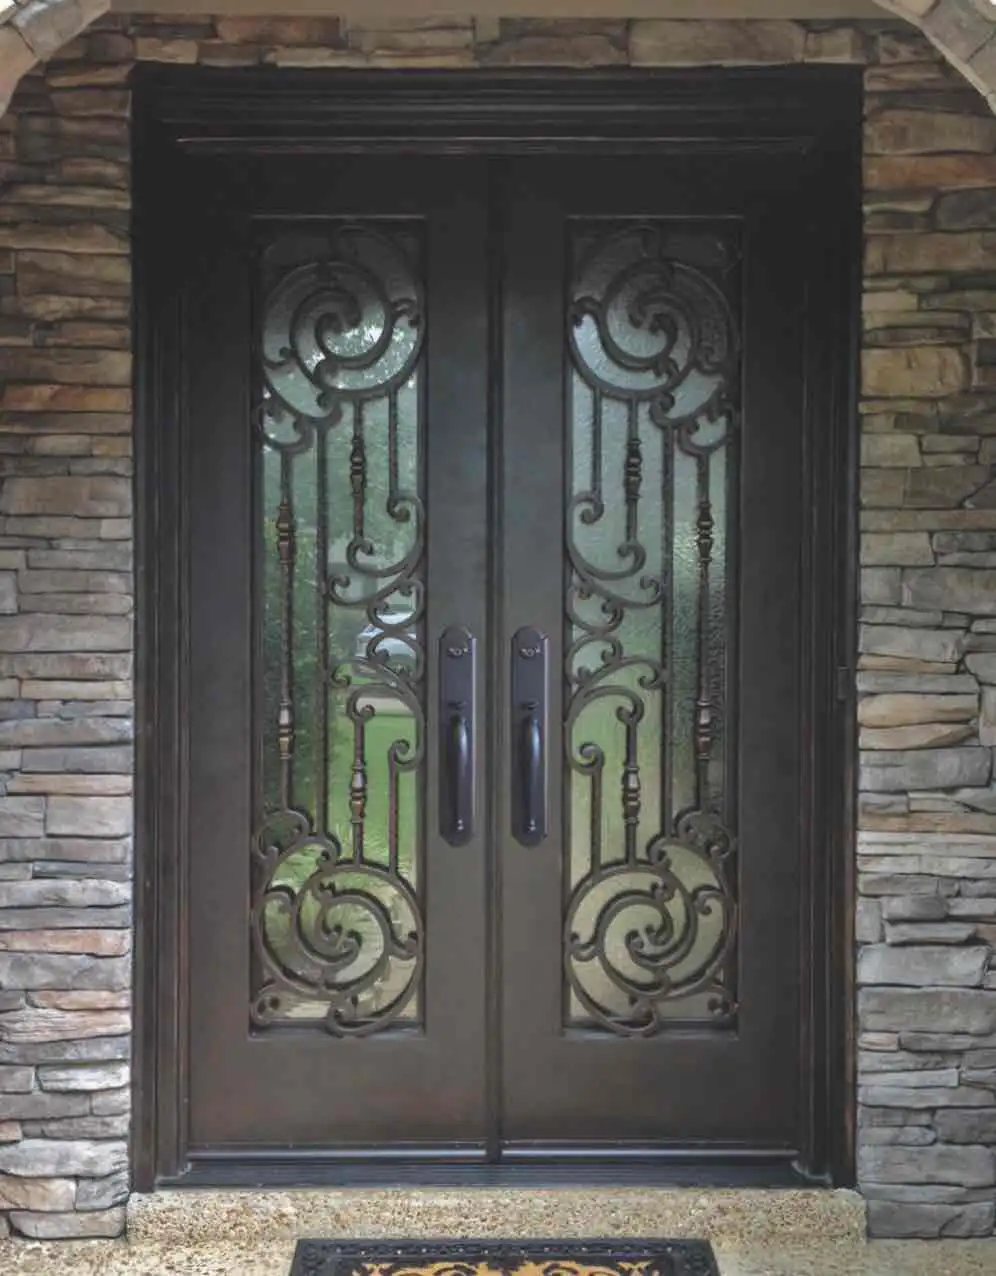
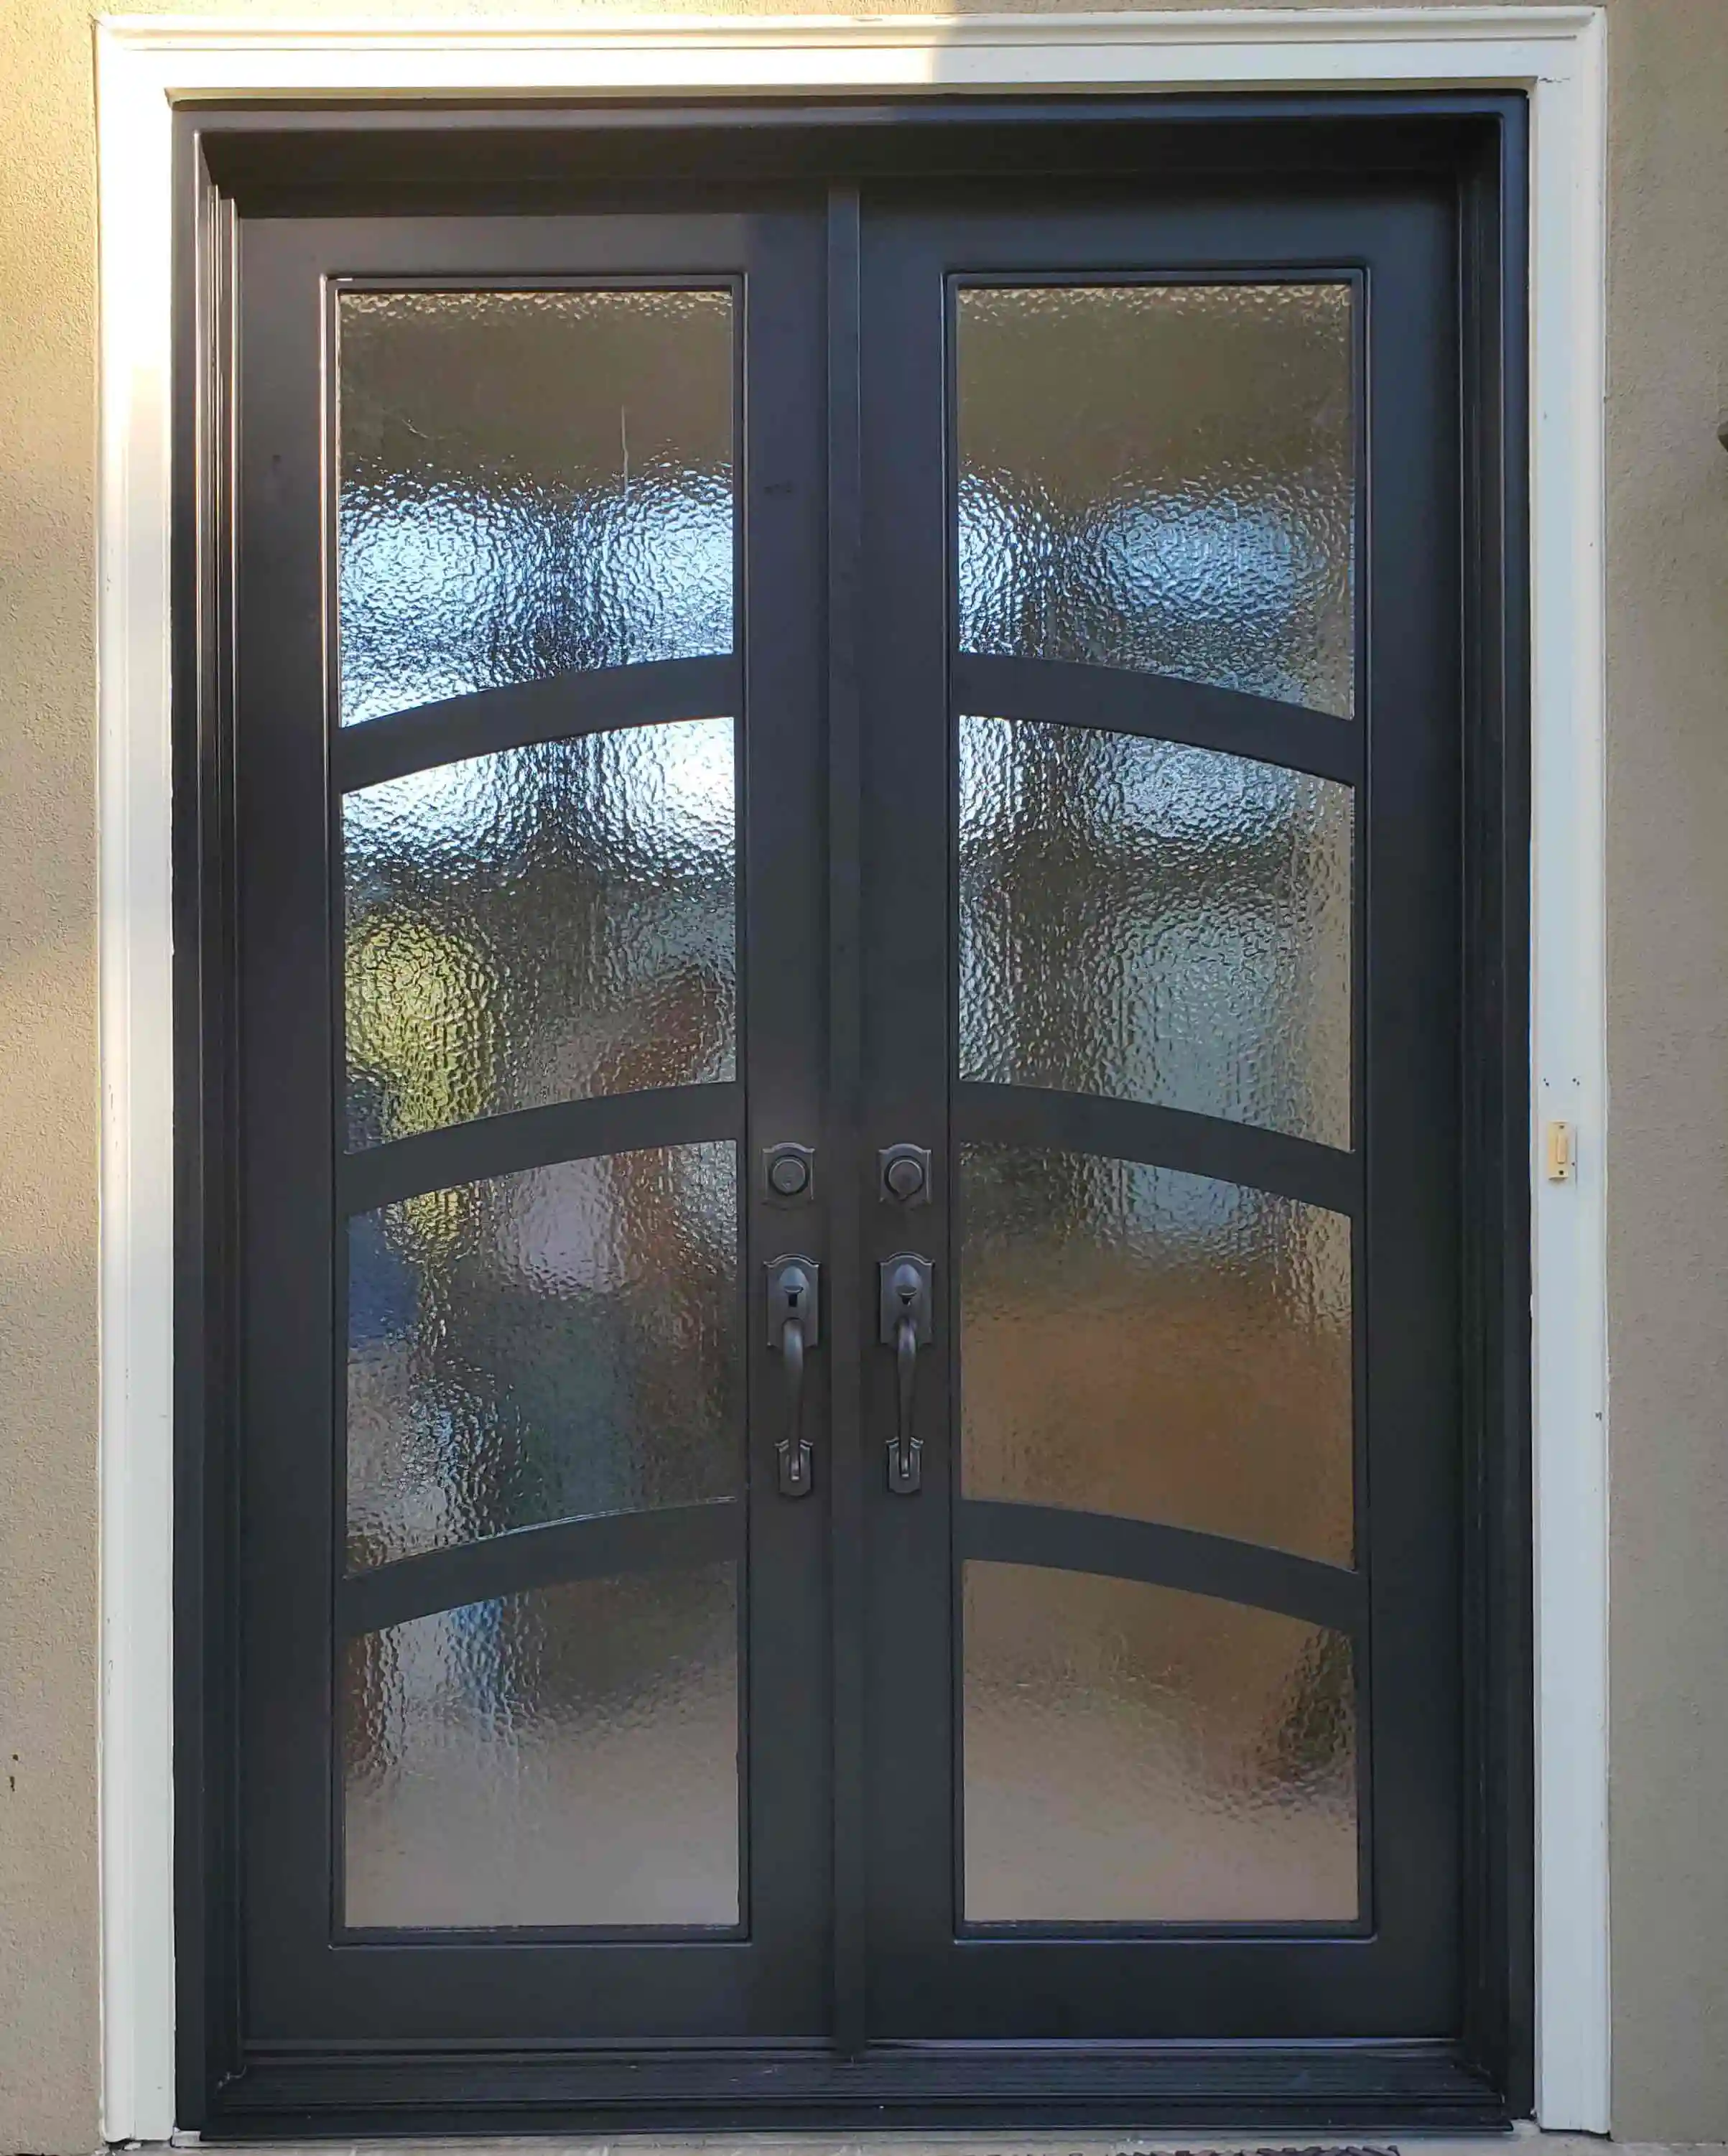
Measuring a front door for replacement is not about producing a final fabrication drawing from the kitchen table. It is about giving yourself, your builder, or your door specialist a clean starting picture of the entry: what is there now, what has to stay, and where the opening may need more attention.
That distinction matters. A simple slab replacement and a custom entry with new glass, a different frame, or an arched top are not measured the same way. Good homeowner measurements reduce guesswork early. A final site measure still protects the fit, the swing, the threshold, and the details that make a door feel settled rather than forced into place.
Start by identifying what you are replacing
Before reaching for a tape measure, decide which of these descriptions best fits the project. Are you replacing only a door slab in a sound existing frame? Replacing the door and frame together? Enlarging the opening? Changing a single door to a double door, adding sidelights, or working around an arch? The answer determines which measurements are useful and which need a professional to verify on site.
A slab-only replacement keeps more of the existing conditions. It calls for careful measurements of the slab, hinges, lock locations, and clearances. A full-frame or custom project starts farther out, with the visible frame, surrounding wall, threshold, interior floor, exterior finish, and the amount of room needed for the desired design. Do not assume a standard-size slab tells you what a new entry system can be.
Comfort and performance are part of the decision too. The U.S. Department of Energy explains that exterior-door performance depends on the complete unit and the climate, not just the visible door material. That is one reason a final measurement looks beyond width and height to the frame, glass, weatherstripping, threshold, and exposure.
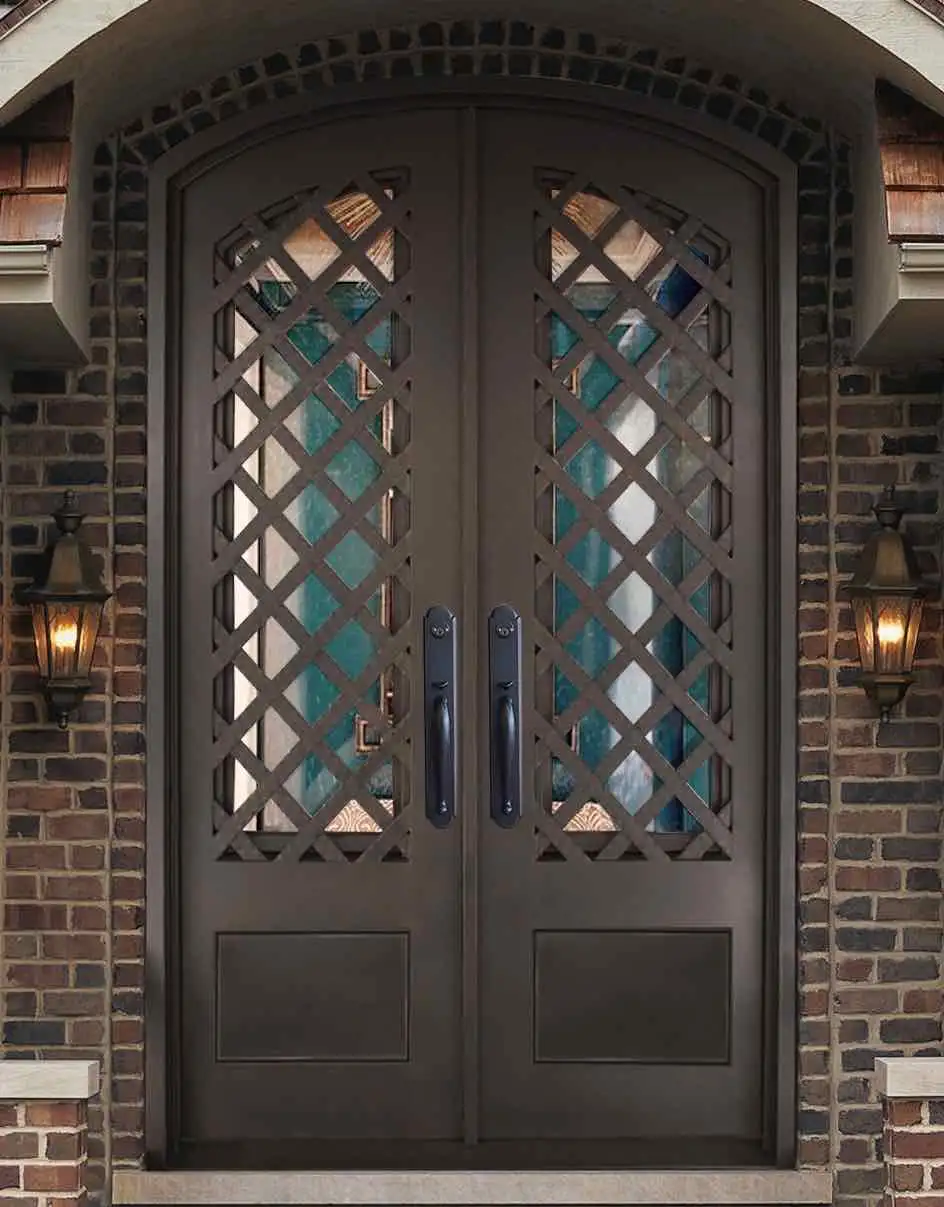
Tools and a simple way to record the entry
You do not need specialized equipment for the first pass. Bring a rigid tape measure, a pencil, a notepad or phone note, a small level if you have one, and a phone for photos. A second person is helpful for tall doors and for holding the tape straight, but do not climb on furniture or balance on a step stool alone to reach an upper measurement.
Draw a quick rectangle for the door and another around it for the frame. Write every dimension where it belongs, including more than one reading when the opening varies. Use inches and fractions consistently. A note that says “36 by 80” is useful only for a broad conversation. “35 7/8 at top, 35 3/4 at middle, 35 5/8 at bottom” tells the next person that the opening may not be perfectly parallel.
Label interior and exterior sides on the sketch. Mark which side has the hinges, which way the door swings, and where the handle and deadbolt sit. Record anything unusual, such as a raised floor inside, tile that meets the threshold, stone or brick outside, an overhead transom, or a storm door. The practical details are where avoidable surprises tend to hide.
Step 1: Measure the existing door slab
Open the door and measure the slab itself, not the trim around it. Measure its width across the face at the top, center, and bottom. Then measure the height on both sides from the top edge to the bottom edge. Record the readings separately. A door that has moved, swelled, or been trimmed in the past may not be the same dimension everywhere.
Measure the thickness at the latch edge, away from weatherstripping and hardware. Then note the hinge side and count the hinges. For a slab replacement, measure from the top of the slab to the top and bottom of each hinge, and record each hinge’s height and width. Measure the distance from the slab edge to the center of the handle and deadbolt, often called the backset or boring position. These details matter when trying to work with an existing frame.
Write down the swing in plain language rather than relying on a handedness label. Stand outside and note whether the door swings in or out. Then say whether the hinges are on the left or right when you face that side. For a new custom entry, the final swing should be confirmed against the room, stairs, furniture, exterior landing, and local requirements, but your first note makes the conversation much easier.
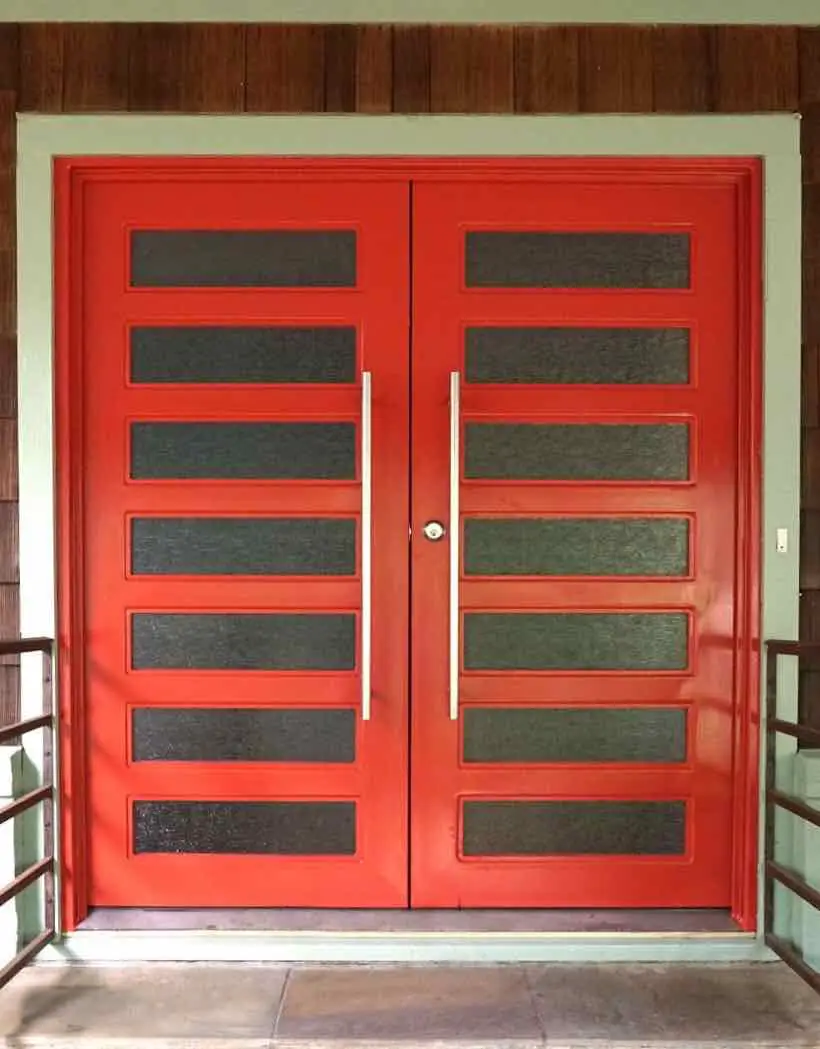
Step 2: Measure the frame and opening
Next, measure the inside of the existing frame where the door closes. Take the width at the top, middle, and bottom, then measure the height at the left and right from the finished threshold or sill to the head jamb. Do not measure the decorative interior casing or exterior brickmold and assume that is the opening. Those trim pieces can conceal the actual frame size and condition.
Measure jamb depth from the inside edge to the outside edge of the frame, excluding removable trim. This helps describe how the frame relates to the wall. Where it is easy and safe to see, note whether the jamb is wood, metal, or wrapped in another material. Do not pull off trim simply to get a first quote, especially around older painted surfaces. For homes built before 1978, the Environmental Protection Agency’s lead-safe renovation guidance explains why sanding, scraping, or removing old paint needs care.
Check the opening with a level if you have one. You are not trying to certify that the frame is plumb and square. You are looking for clear signs that it is not: an uneven reveal around the door, a latch that needs lifting to close, a threshold that slopes the wrong way, a door that rubs, or a noticeable difference between top, middle, and bottom readings. Record those observations. They often explain why a replacement needs more than a new slab.
Step 3: Record the details that change fit and function
Width and height are only the beginning. Look at the threshold from both sides. Note the interior floor material and its height relative to the threshold, then look outside for steps, porch decking, stone, brick, drainage, mulch, or concrete that meets the entry. A change to the frame or sill can affect where water goes, how the door clears the floor, and whether the finished entry remains comfortable in wet weather.
Take note of glass and privacy needs. Is there glass in the door now? Are there sidelights, a transom, or nearby windows that make the entry feel exposed? Does the foyer need more daylight, or does the street-facing side need more privacy? Those answers help shape the final configuration. They also make the material conversation more useful, as explained in the Journal’s front-door material comparison.
Finally, look above and around the door. A covered porch, a deep overhang, a fully exposed facade, strong afternoon sun, nearby sprinklers, and water from a gutter all affect the long-term details of an exterior entry. Mention any persistent moisture, stains, rust, or soft trim. A new door should solve the current problem rather than inherit it.
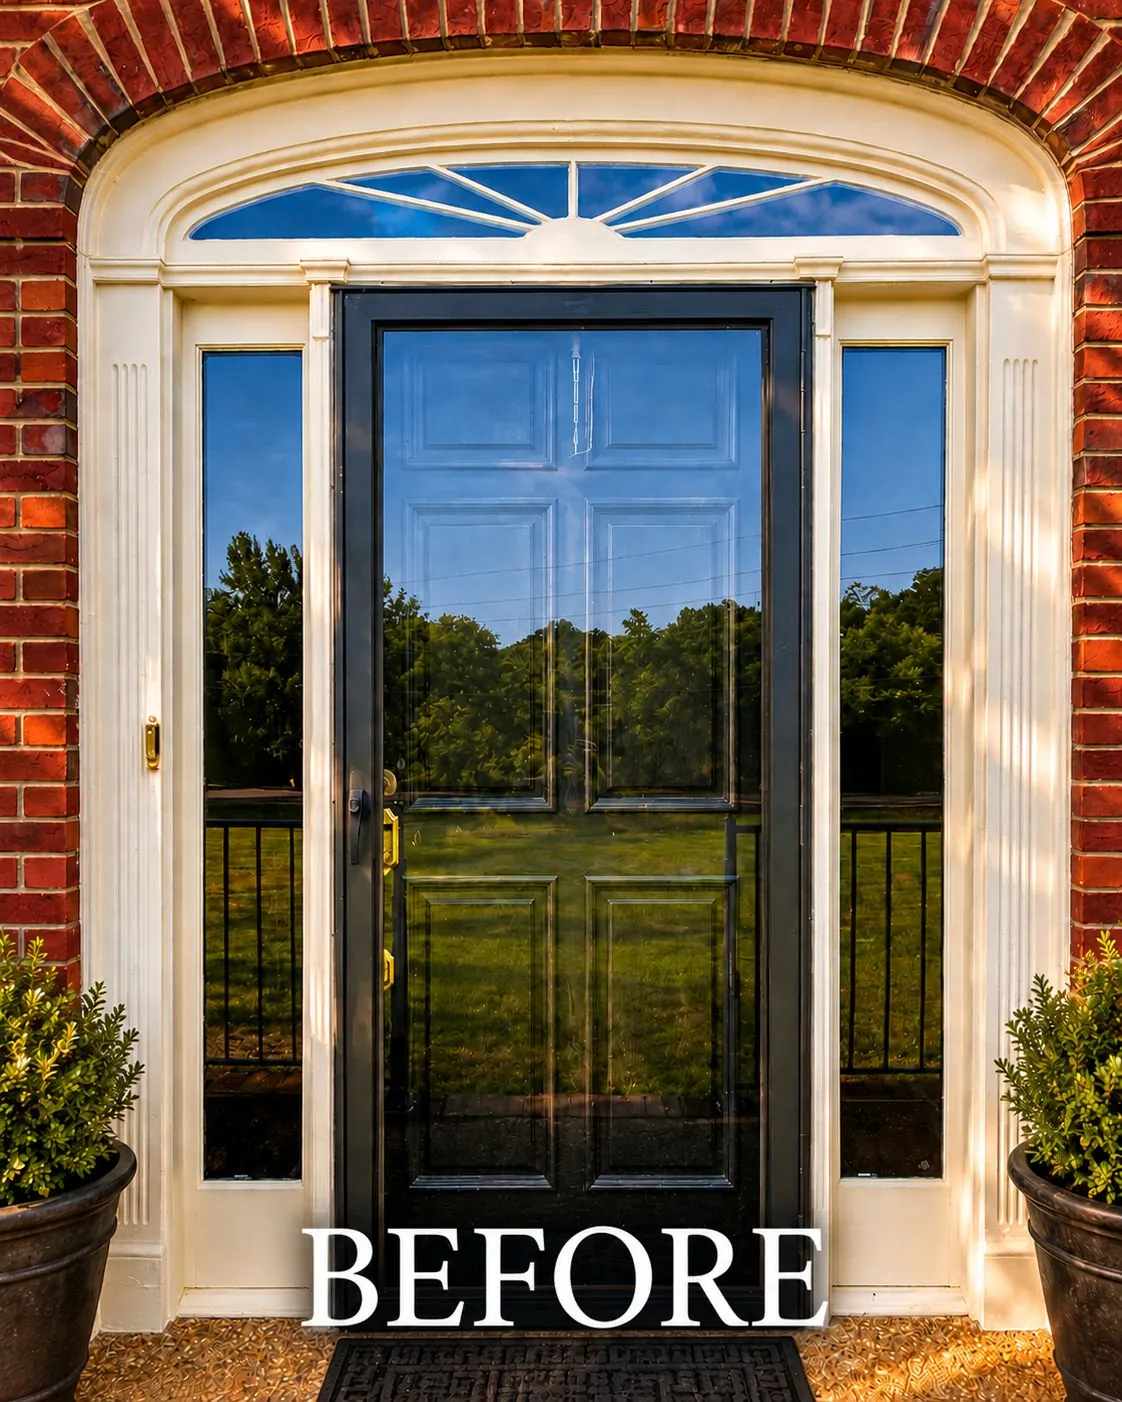
Step 4: Measure double doors, sidelights, and arched openings
For double doors, first measure the complete opening from one frame edge to the other. Then measure each active and inactive leaf separately. Record the meeting stile, the astragal or seal between the leaves, hinge locations, and whether one leaf is normally fixed. Do not assume the two doors are identical just because they look symmetrical. The operating details influence the final design and hardware plan.
For sidelights, measure the overall width of the complete unit, then the door and each sidelight as separate elements. Measure their heights and note whether the glass extends to the same head height as the door. For a transom, record the overall height from threshold to head jamb and the height of the door below it. A photo taken squarely from the exterior makes these notes much easier to interpret.
An arched entry needs a few extra clues. Measure the straight vertical portions on both sides before the curve begins, then measure the widest point of the opening and the height at the center. Take a direct photo from outside and one from inside, stepping back far enough to include the whole arch. The exact geometry is confirmed during site measurement, but these first dimensions help show whether the project calls for a true arch, a transom treatment, or a different way to carry the shape into the door. Our arched iron door planning guide explains why the curve, frame, and surrounding architecture should be designed together.
Step 5: Take the photos that make measurements useful
Measurements describe size. Photos explain context. Take one straight-on exterior photo that includes the entire entry and some of the wall around it. Take another from farther back to show the facade. Inside, photograph the complete opening, the threshold, the floor transition, the hinge side, the lock edge, and any nearby stair, furniture, or wall that affects swing clearance.
Then take close-ups of anything that needs attention: water staining, a damaged threshold, a cracked frame, a rubbing edge, an old storm-door attachment, or a detail you want to preserve. Include a tape measure in a photo only when it clarifies an unusual measurement. A photo of the sketch or note after you finish is useful insurance against losing one number.
For a custom entry, this information gives the first conversation substance without pretending it is the last word. Luxury Iron Doors works from the opening, the architecture, and how the home is used. The team can then verify dimensions, shape the configuration, and coordinate the glass, finish, threshold, and installation around the actual project.
Planning a custom entry
Bring the opening. We will help with the rest.
Share the measurements and photos you have, along with the door style and priorities you are considering. Explore custom wrought iron doors, browse the door collection, or review custom options before requesting a quote.
Request a quoteFrequently asked questions
What measurements do I need for a front door replacement?+
For a useful starting conversation, record the visible door slab width, height, and thickness; the inside width and height of the frame; jamb depth; swing direction; and any sidelights or transom. Photos of both sides of the entry are just as useful because they show trim, threshold, floor, and exterior conditions that a tape measure cannot.
Should I measure the door slab or the frame?+
Measure both, but label them clearly. The slab dimensions help describe the existing door. The frame and opening dimensions help determine whether a replacement can work within the current conditions. A custom or full-frame project needs a professional site measurement before fabrication.
How accurate do front door measurements need to be?+
Measure to the nearest 1/16 inch when possible and record each point rather than averaging them. Homes settle, openings can be out of square, and a small difference may matter when the door, frame, weatherstripping, threshold, and hardware must work together.
Can I replace a front door without replacing the frame?+
Sometimes, particularly when the existing frame is sound, square, and compatible with the new door. A full-frame replacement may be the better choice when the frame is damaged, the opening needs to change, the threshold has water issues, or the new design includes different proportions, sidelights, or a transom.