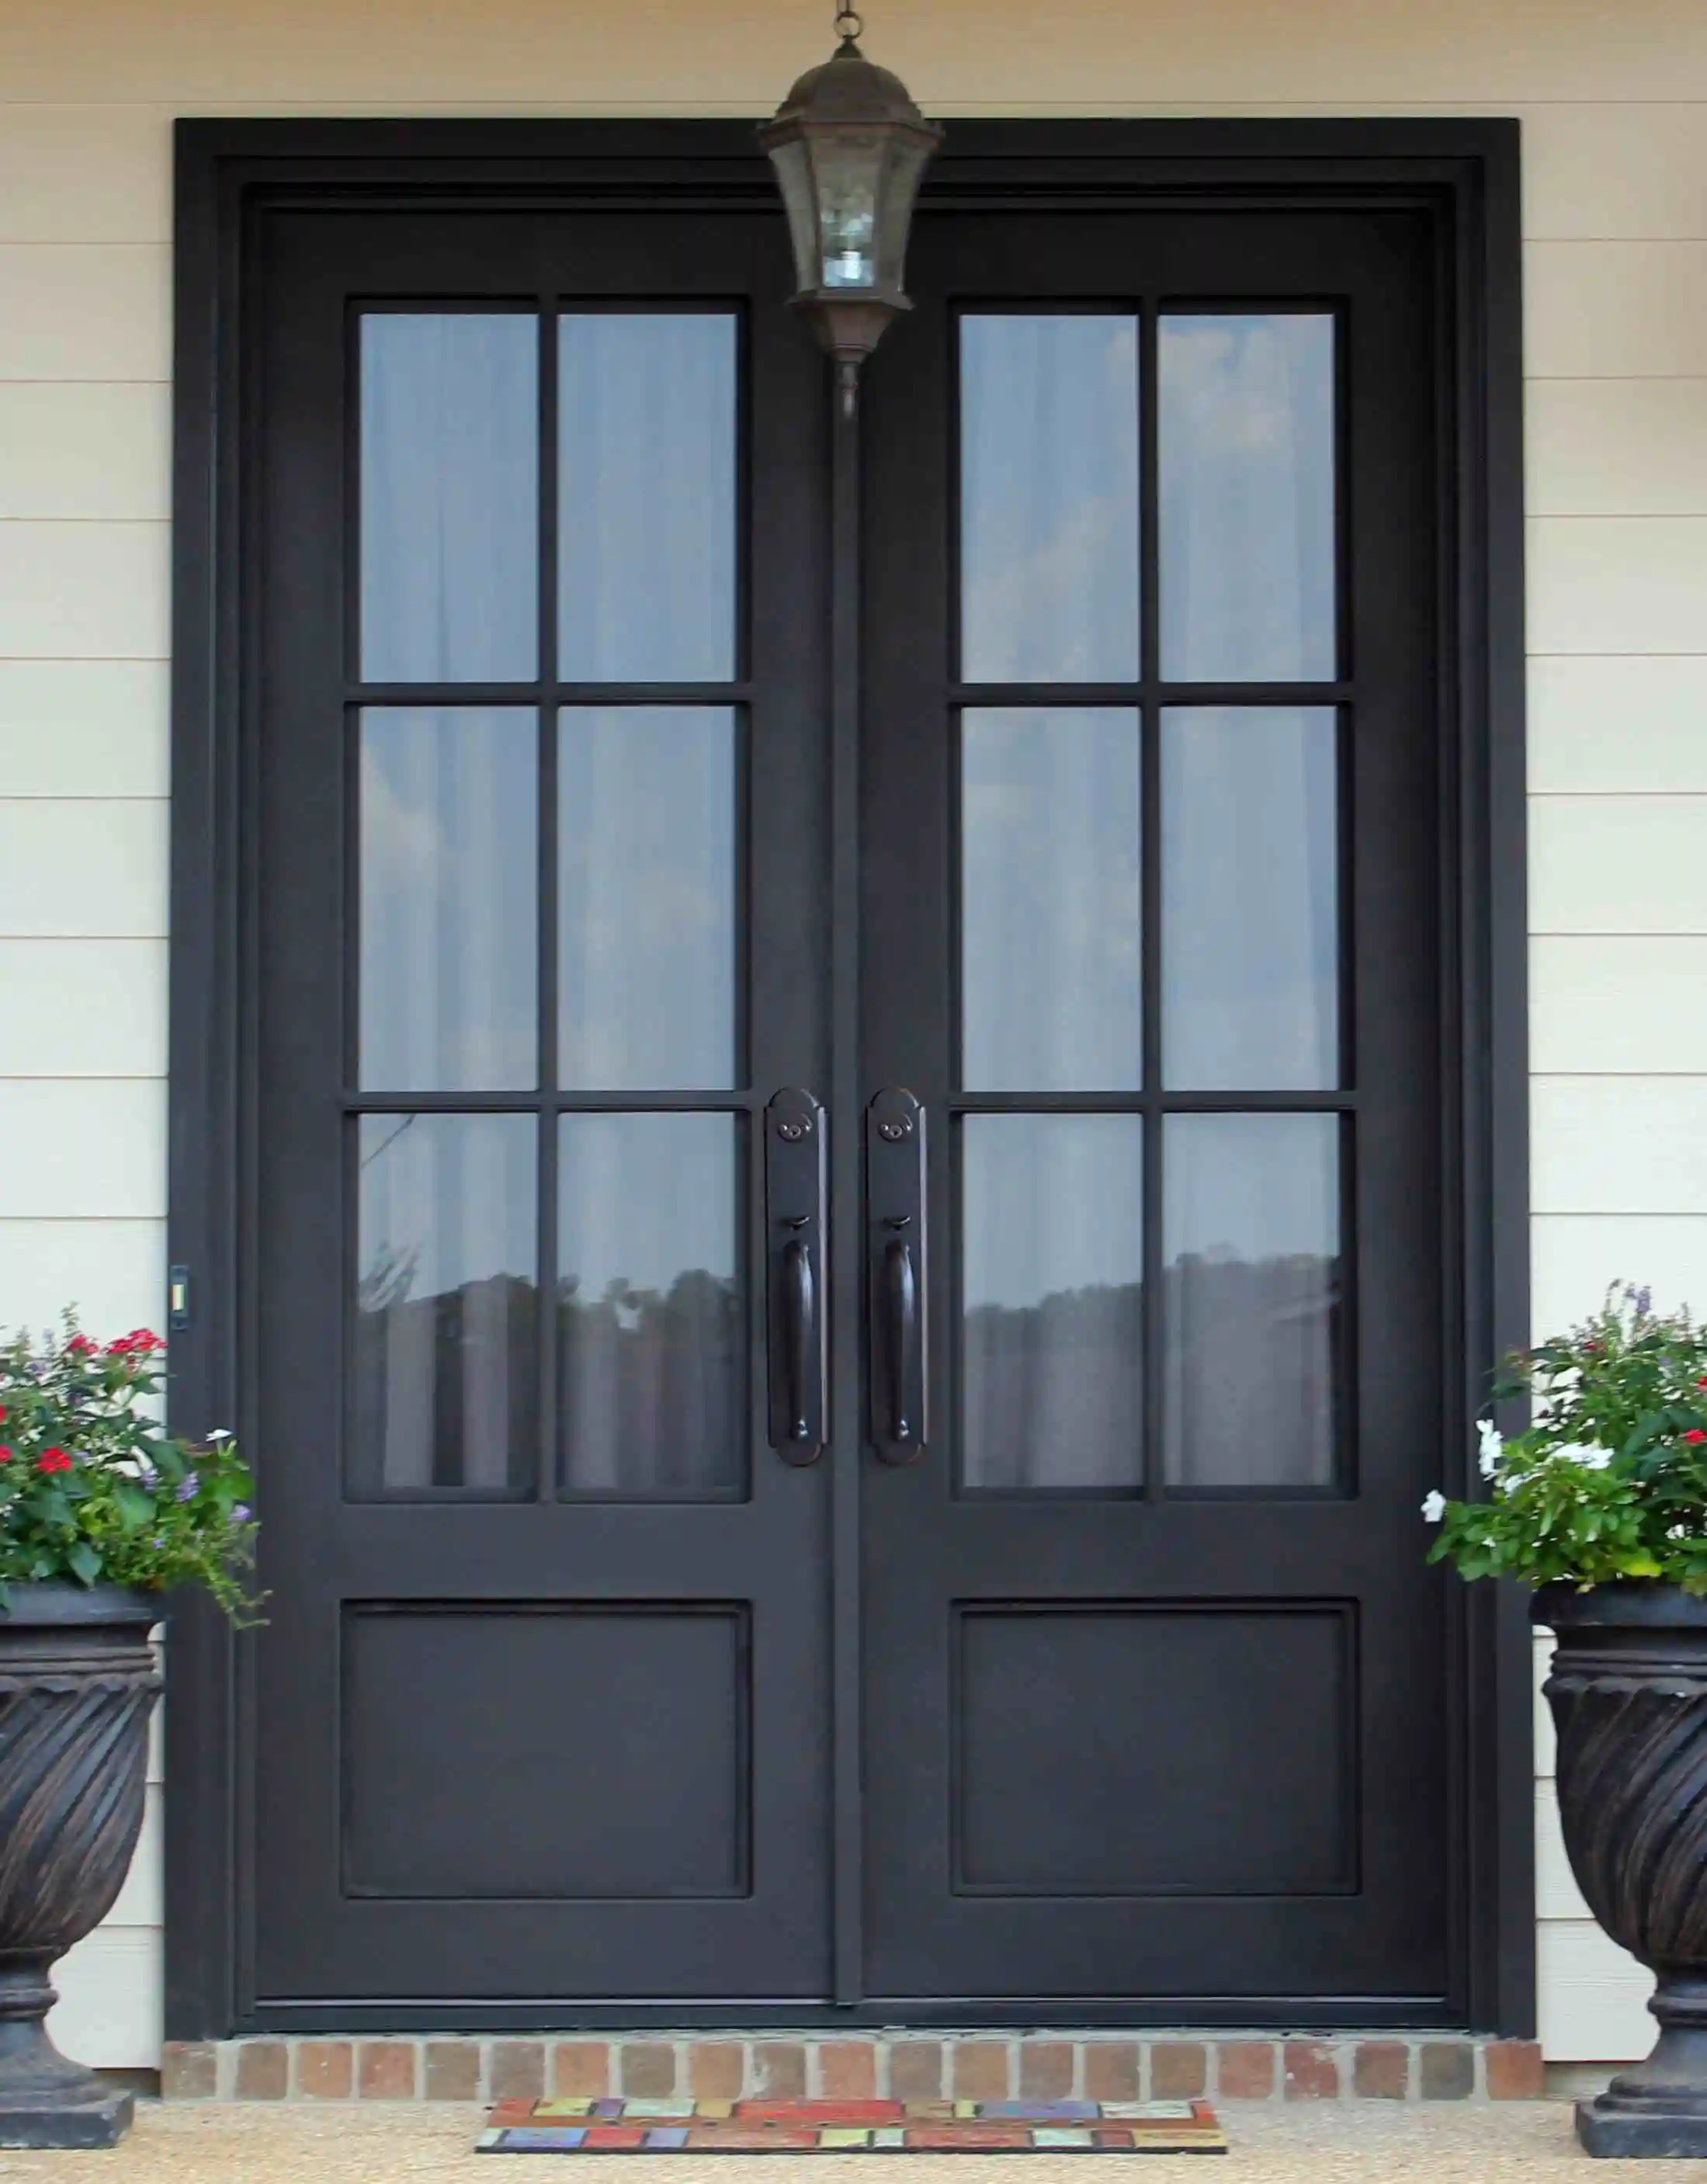
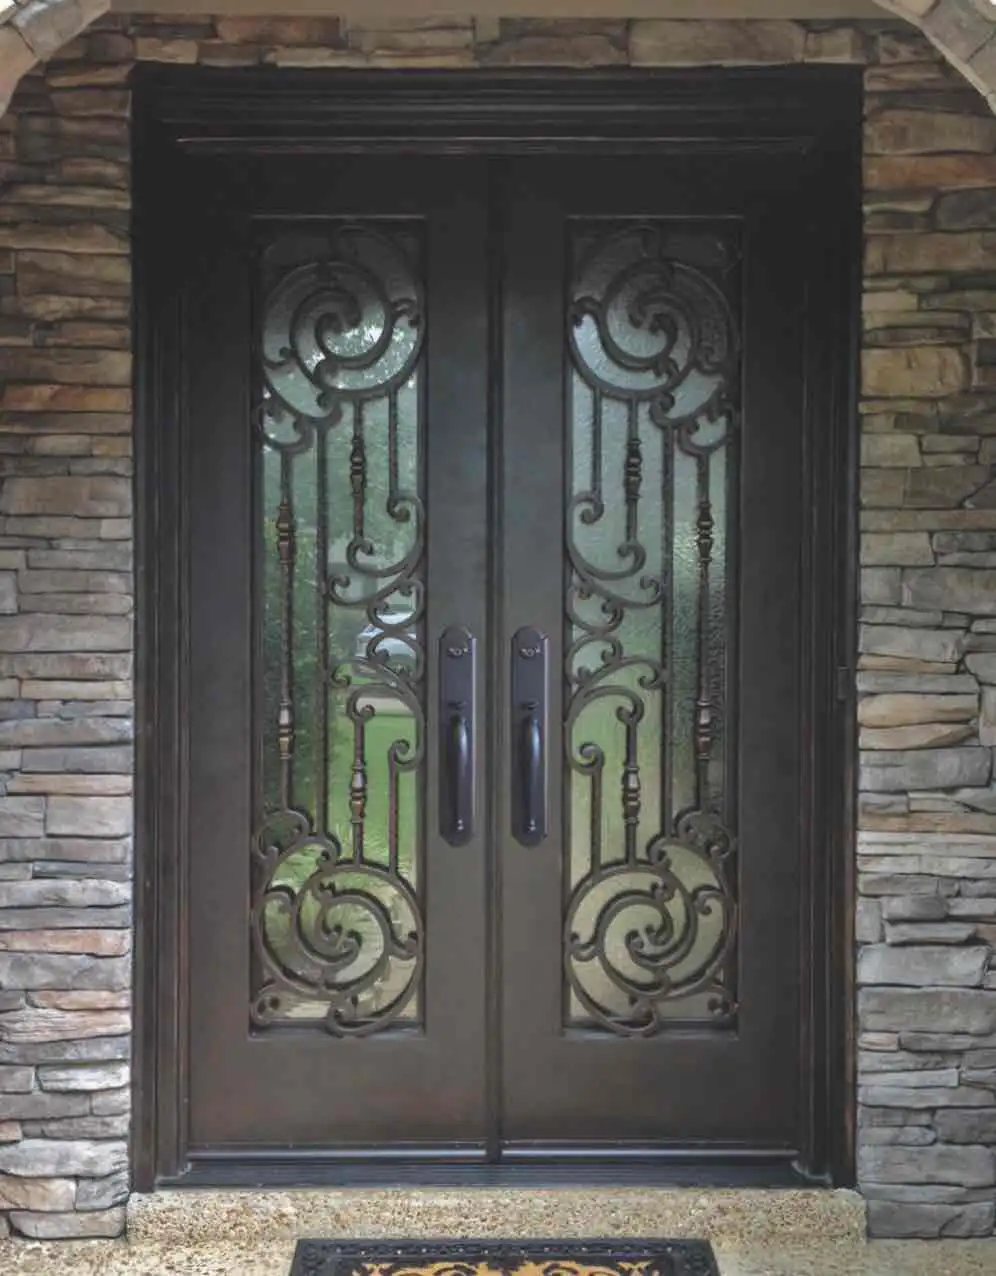
A wrought iron door does not need complicated cleaning to look cared for. The useful routine is gentle, consistent, and focused on the places where dirt, water, and daily use can wear on the finish. Clean the door when it is cool and dry, inspect it as you go, and deal with the cause of any recurring mark instead of scrubbing harder.
That approach protects more than the visible face of the door. It gives you a chance to check the threshold, weatherstripping, glass, hardware, and drainage around the opening. A clean entry is easier to enjoy, and it is also easier to assess before a small chip, stubborn residue, or moisture issue turns into a larger repair.
Before you clean, look at the whole entry
Start on a mild, dry day when the door is not hot from direct sun. Heat can make cleaner dry too quickly and leave residue on glass or finished metal. Bring a bucket of clean water, a mild soap that is suitable for painted or finished surfaces, two soft microfiber cloths, and a soft brush only for clearing dry debris from the sill. Keep abrasives, harsh degreasers, acidic cleaners, and metal polish out of the routine unless the installer or finish manufacturer has told you they are appropriate for your exact door.
Before wetting the door, take one slow look from top to bottom. Notice loose pollen, cobwebs, leaves in the threshold, sprinkler overspray, soil or mulch against the sill, streaks below a nearby gutter, and any place the finish looks chipped or lifted. This quick inspection matters because cleaning should not hide the condition of the door. It should make it easier to see what needs attention.
Open the door and check both faces, the frame, lower corners, hinges, latch edge, weatherstripping, and glass stops. A custom entry is a complete system, not just a decorative panel. The same attention to the opening that helps when planning custom entry doors also helps maintain one over time: water needs to shed away, seals need to work, and the door should open and close without rubbing or forcing.
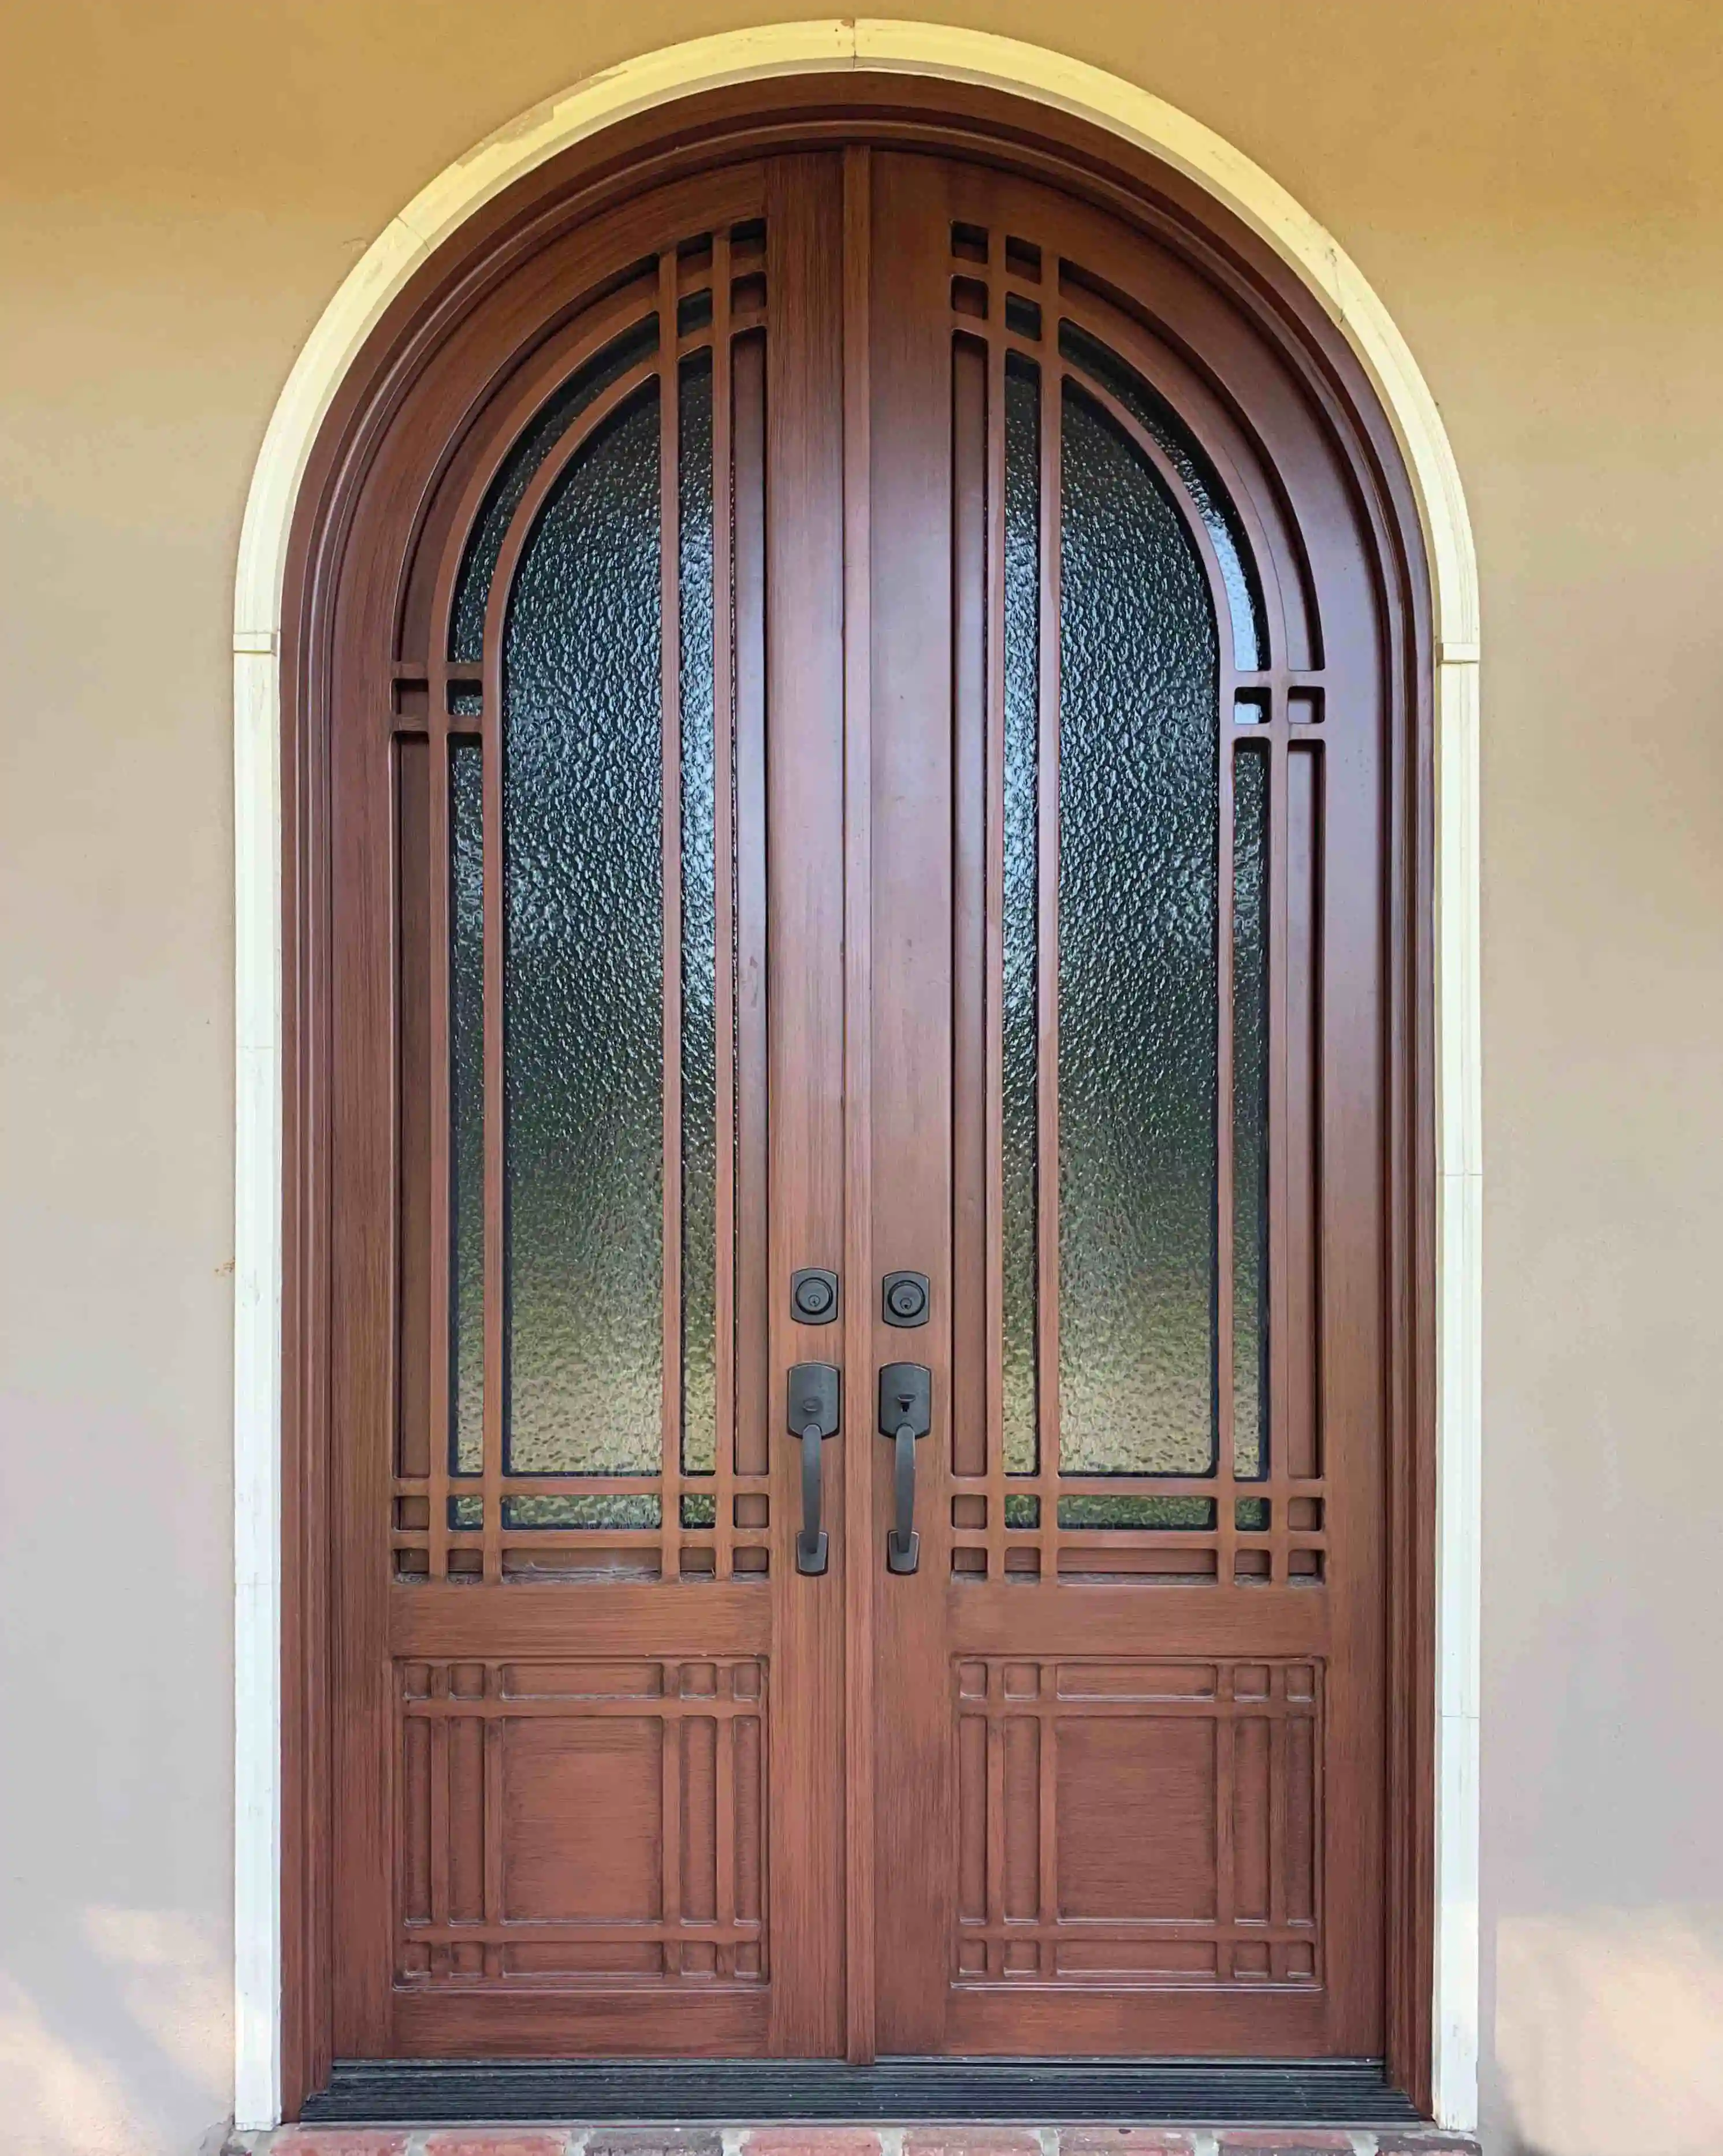
How to clean a wrought iron door, step by step
The goal is to lift ordinary dust and residue without scratching the protective finish or driving water into corners. A soft touch works better than aggressive products. If the door came with written care instructions, those should always take priority because finishes and hardware can vary from one project to another.
- Clear dry debris first. Brush leaves, grit, and cobwebs away from the threshold, lower frame, and decorative details with a soft dry brush or clean cloth. Do not use a pressure washer. High-pressure water can force moisture into seals, joints, and areas that were meant to shed water.
- Mix a mild cleaning solution. Use a small amount of mild soap in clean water. Dip a microfiber cloth, then wring it out well. The cloth should be damp, not dripping. Test an inconspicuous area first if you are unsure how the finish will respond.
- Wipe in manageable sections. Start at the top and work down, wiping broad frame surfaces before the detailed ironwork. Fold the cloth to a clean side as it picks up dirt. A soft brush can help around decorative patterns only when it will not abrade the finish.
- Remove soap residue gently. Use a second clean, damp cloth to wipe away remaining soap. Do not flood the surface or leave water pooled at the bottom rail, hinges, or glass stops.
- Dry the door and inspect it again. Finish with a dry microfiber cloth, especially at seams, corners, around hardware, and near the threshold. Once the door is dry, a chip, rough edge, or orange spot is easier to distinguish from ordinary dirt.
Do not rush this process by treating the door like exterior siding. An iron door often has glass, weatherstripping, detailed profiles, and a finished surface that all benefit from controlled cleaning. Take a little extra time around the lower frame and threshold, where pollen and grime can turn into a damp layer after rain or irrigation.
If the door looks dull after cleaning, resist the urge to apply a generic wax, oil, or polish. Some products leave a film that collects dust, changes the sheen, or interferes with a future finish repair. A clean, dry surface is usually the right baseline. Ask for product-specific guidance before adding anything designed to alter the appearance of the coating.
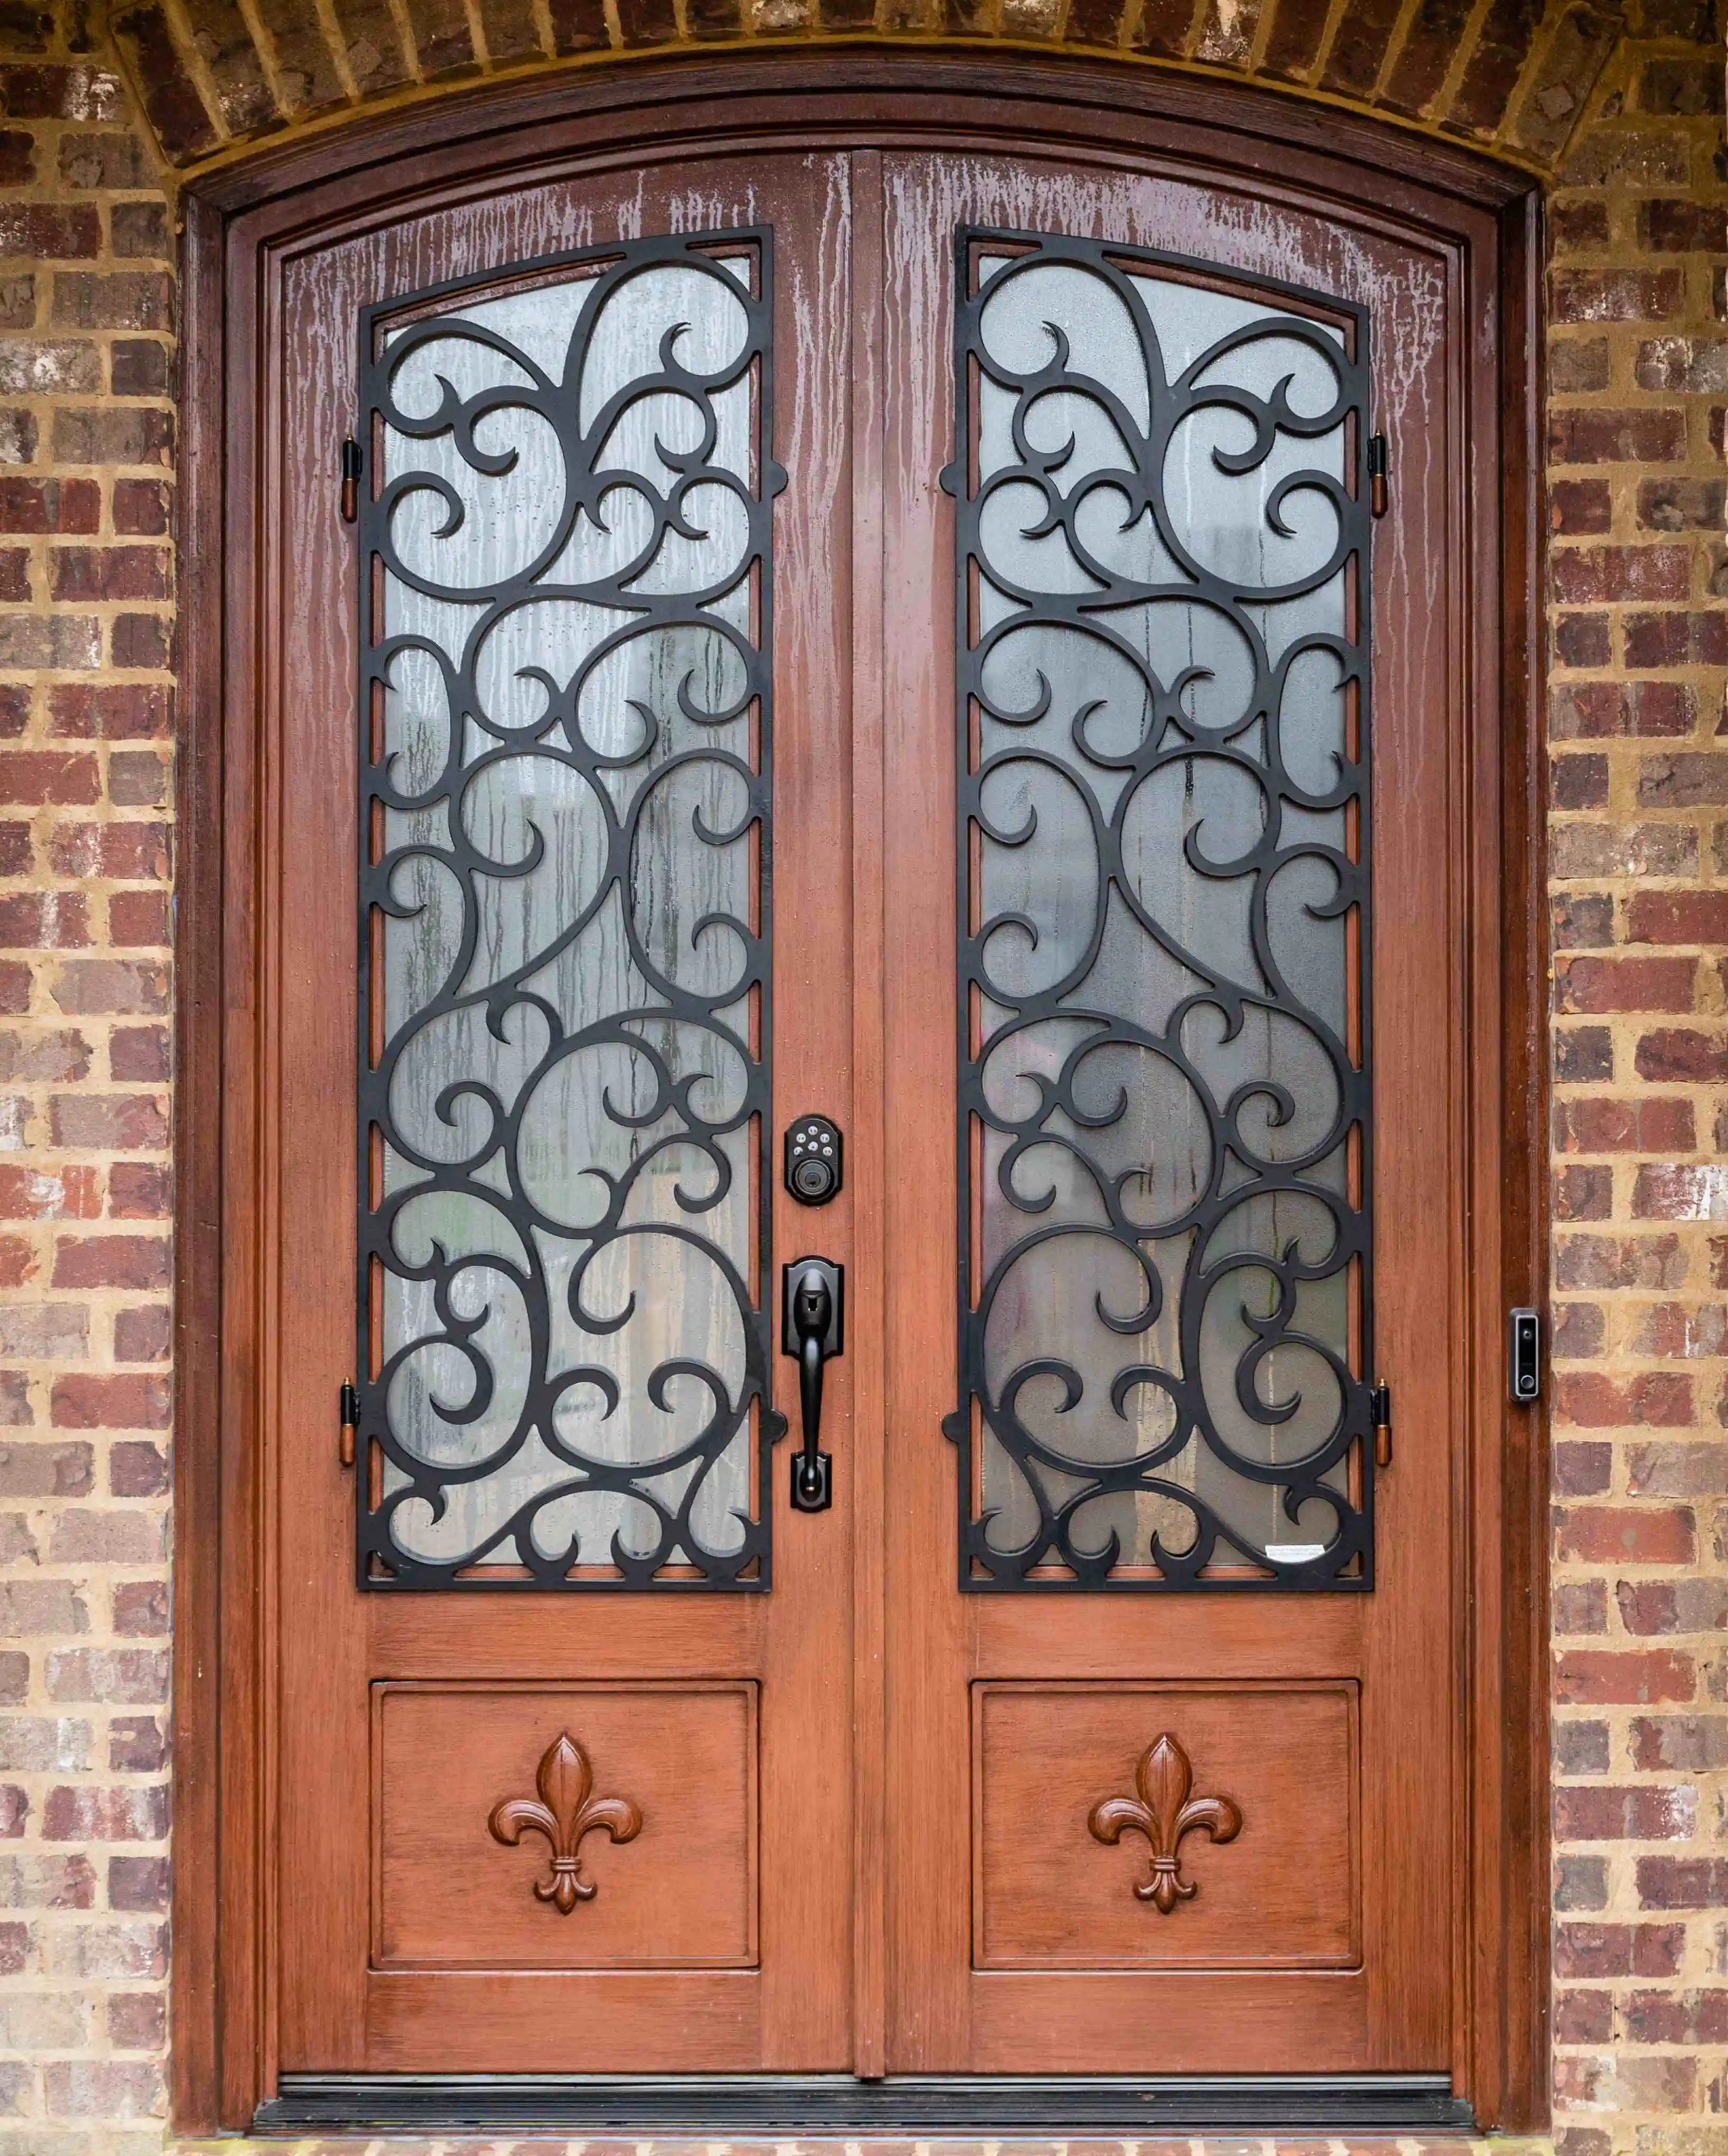
Clean the glass, hardware, and threshold with care
Glass, metal, and hardware do not necessarily need the same cleaner. Clean the iron frame first, then use a glass product that is suitable for the glazing and apply it to a cloth instead of spraying freely across the door. This helps keep cleaner out of the edges around the glass, where residue can collect against finished metal or weather seals. Dry the glass and its perimeter when you are done.
For handles, locks, and hinges, use the care method recommended for the installed hardware. Routine wiping is often enough. Do not coat locks or hinges with a household oil simply because they look dry, and do not force a stiff lock or door. Changes in operation can come from a hardware issue, weatherstripping, settling, or an alignment problem. Continued force can wear a finished edge that was not previously exposed.
At the threshold, remove leaves, dirt, and anything that can hold moisture against the bottom of the frame. Check that exterior water has a way to move away from the entry. ENERGY STAR’s guidance on sealing gaps around a home is a useful reminder that worn seals and gaps deserve attention. A weatherstripping issue is not automatically a rust problem, but it can point to a door system that needs adjustment before water and air find a more persistent path indoors.
Keep landscaping and maintenance work in view, too. A sprinkler head that reaches the jamb, a clogged gutter above the entry, or mulch piled against the threshold can create more cleaning work and more exposure than the door itself. Redirecting the water is a better result than repeatedly washing the same residue away.
What not to use on a finished iron door
Heavy-duty cleaners can make a door look worse, not better. Skip steel wool, scouring pads, stiff wire brushes, abrasive powders, strong solvents, acidic cleaners, and harsh degreasers unless a qualified repair professional has confirmed the product is appropriate for a specific repair. These tools can cut through a finish, leave swirl marks, damage adjacent glass or seals, and create a larger area that now needs coating work.
A pressure washer is another common shortcut to avoid. It can force water into weatherstripping, glazing details, joints, and the threshold. The same goes for soaking the door with a hose. A damp cloth and controlled rinse are easier to manage, and they give you the chance to see whether moisture is collecting where it should not.
Be cautious around older painted trim or an older entry. The U.S. Environmental Protection Agency’s lead-safe renovation guidance warns that sanding or scraping painted surfaces in homes built before 1978 can create harmful lead dust. Routine wiping is one thing. If cleaning reveals a coating that needs to be sanded, scraped, or removed, stop and use lead-safe practices or a qualified professional.
Finally, do not paint over a stain just to make it disappear. Dirt, mildew, mineral residue, finish damage, and active corrosion do not have the same fix. Wipe a suspected mark with a damp cloth, dry it, and inspect it in daylight. If the surface is rough, orange, bubbling, or lifting at the edges, treat it as a maintenance concern rather than a cleaning problem.
When a mark is not just dirt
Cleaning often reveals conditions that were easy to miss. An orange mark around a chip, a rough texture beneath the finish, or paint that is bubbling at a seam can indicate corrosion rather than surface soil. Take a clear photo before trying a repair, then check the nearby cause: standing water, an exposed edge, damaged weatherstripping, a leaking gutter, irrigation, salt, or repeated contact from a screen door or hardware.
A small, isolated chip may be a straightforward touch-up when you have the correct system and instructions. Rust that spreads under the coating, appears around glass or hardware, forms pits in the metal, or returns in the same place needs more attention. Our guide to whether wrought iron rusts outdoors explains what moisture exposure means for an iron entry and the signs that call for professional help.
Door operation is another important clue. If an entry begins to scrape, bind, refuse to latch cleanly, or leave an uneven gap, do not keep pushing it through the same motion. The issue may be hinges, hardware, weatherstripping, settling, or the surrounding opening. Finding the cause early protects the finish as well as the everyday experience of the door.
A seasonal iron door cleaning checklist
Most homes do well with a quick cleaning and inspection once each season, plus a check after a severe storm or nearby exterior work. Coastal properties, pool areas, dense landscaping, and entries that receive frequent irrigation usually need more frequent attention. The right schedule follows the exposure of the opening, not a calendar rule for every home.
- Spring: Remove pollen and debris, clean the finish and glass, and check for water that has collected during winter weather.
- Summer: Watch for sprinkler overspray, strong sun, and signs that hardware or weatherstripping is changing with use.
- Fall: Clear leaves from the threshold and drainage path, then look for chips or worn areas before wetter weather arrives.
- Winter: After storms, check for standing water, drafts, loose seals, and changes in how the door closes or latches.
This routine is not meant to turn ownership into a maintenance project. It keeps the work small and visible. When the door is cleaned gently, the threshold stays clear, and a new mark is caught early, an iron entry can keep its presence without asking for constant attention.
Planning a custom entry
Start with the opening, then plan for the life of the door.
Luxury Iron Doors helps homeowners shape the configuration, glass, finish, and installation details around the home. Explore custom wrought iron doors, browse the door collection, or review custom options before starting a project conversation.
Request a quoteFrequently asked questions
What should I use to clean a wrought iron door?+
For routine cleaning, use a soft microfiber cloth with a mild soap-and-water solution only when it is appropriate for the door’s finish. Wipe the surface clean, then dry it rather than allowing water or cleaner to remain in corners, joints, or around hardware.
Can I use vinegar or a wire brush on an iron door?+
Avoid acidic cleaners, abrasive pads, steel wool, or a wire brush on a finished architectural door unless the installer or finish manufacturer has specifically recommended that method for a confirmed repair. These products can scratch, dull, or remove protective coatings.
How often should wrought iron doors be cleaned?+
A light cleaning once each season is a sensible starting point. Clean and inspect more often when the entry is exposed to salt air, pollen, irrigation, pool chemicals, heavy shade, or wind-driven rain.
What if I find rust while cleaning my iron door?+
Do not simply cover active rust with paint. Photograph the area, check for chips, standing water, damaged seals, or a recurring exposure source, and use the door maker’s repair guidance. Spreading rust, pitting, binding, or water around glass and the threshold should be assessed by a professional.