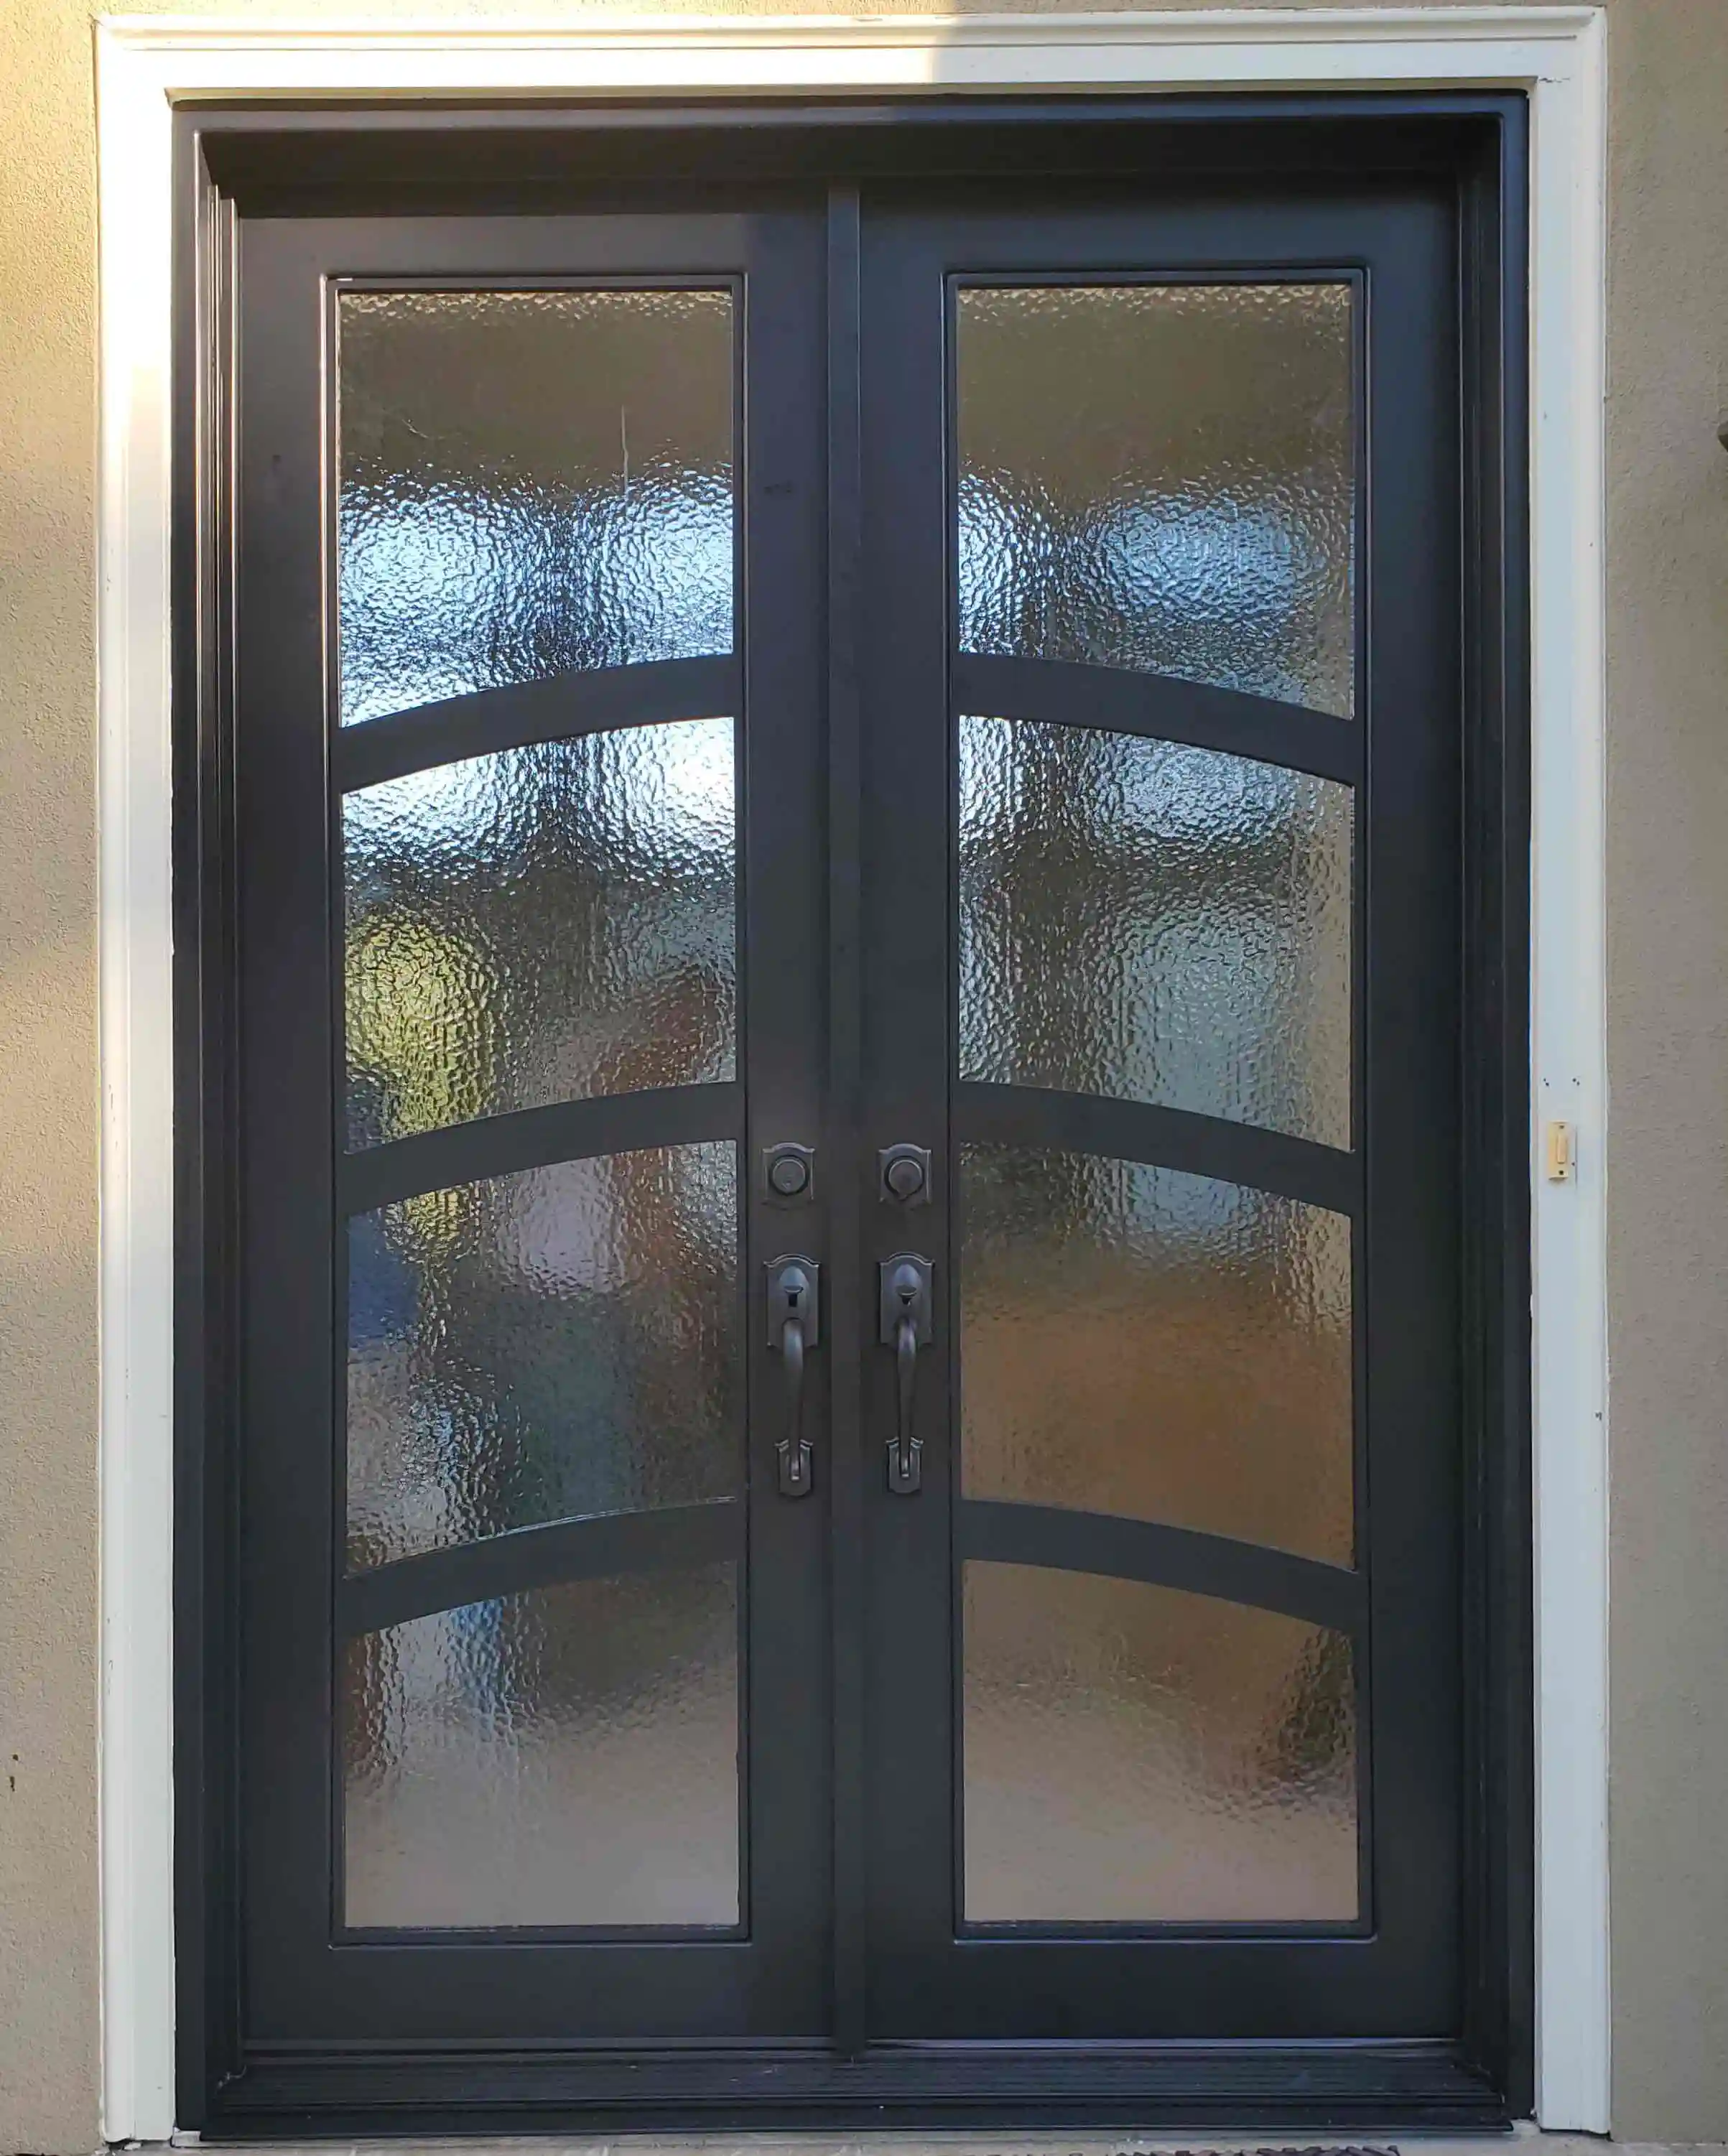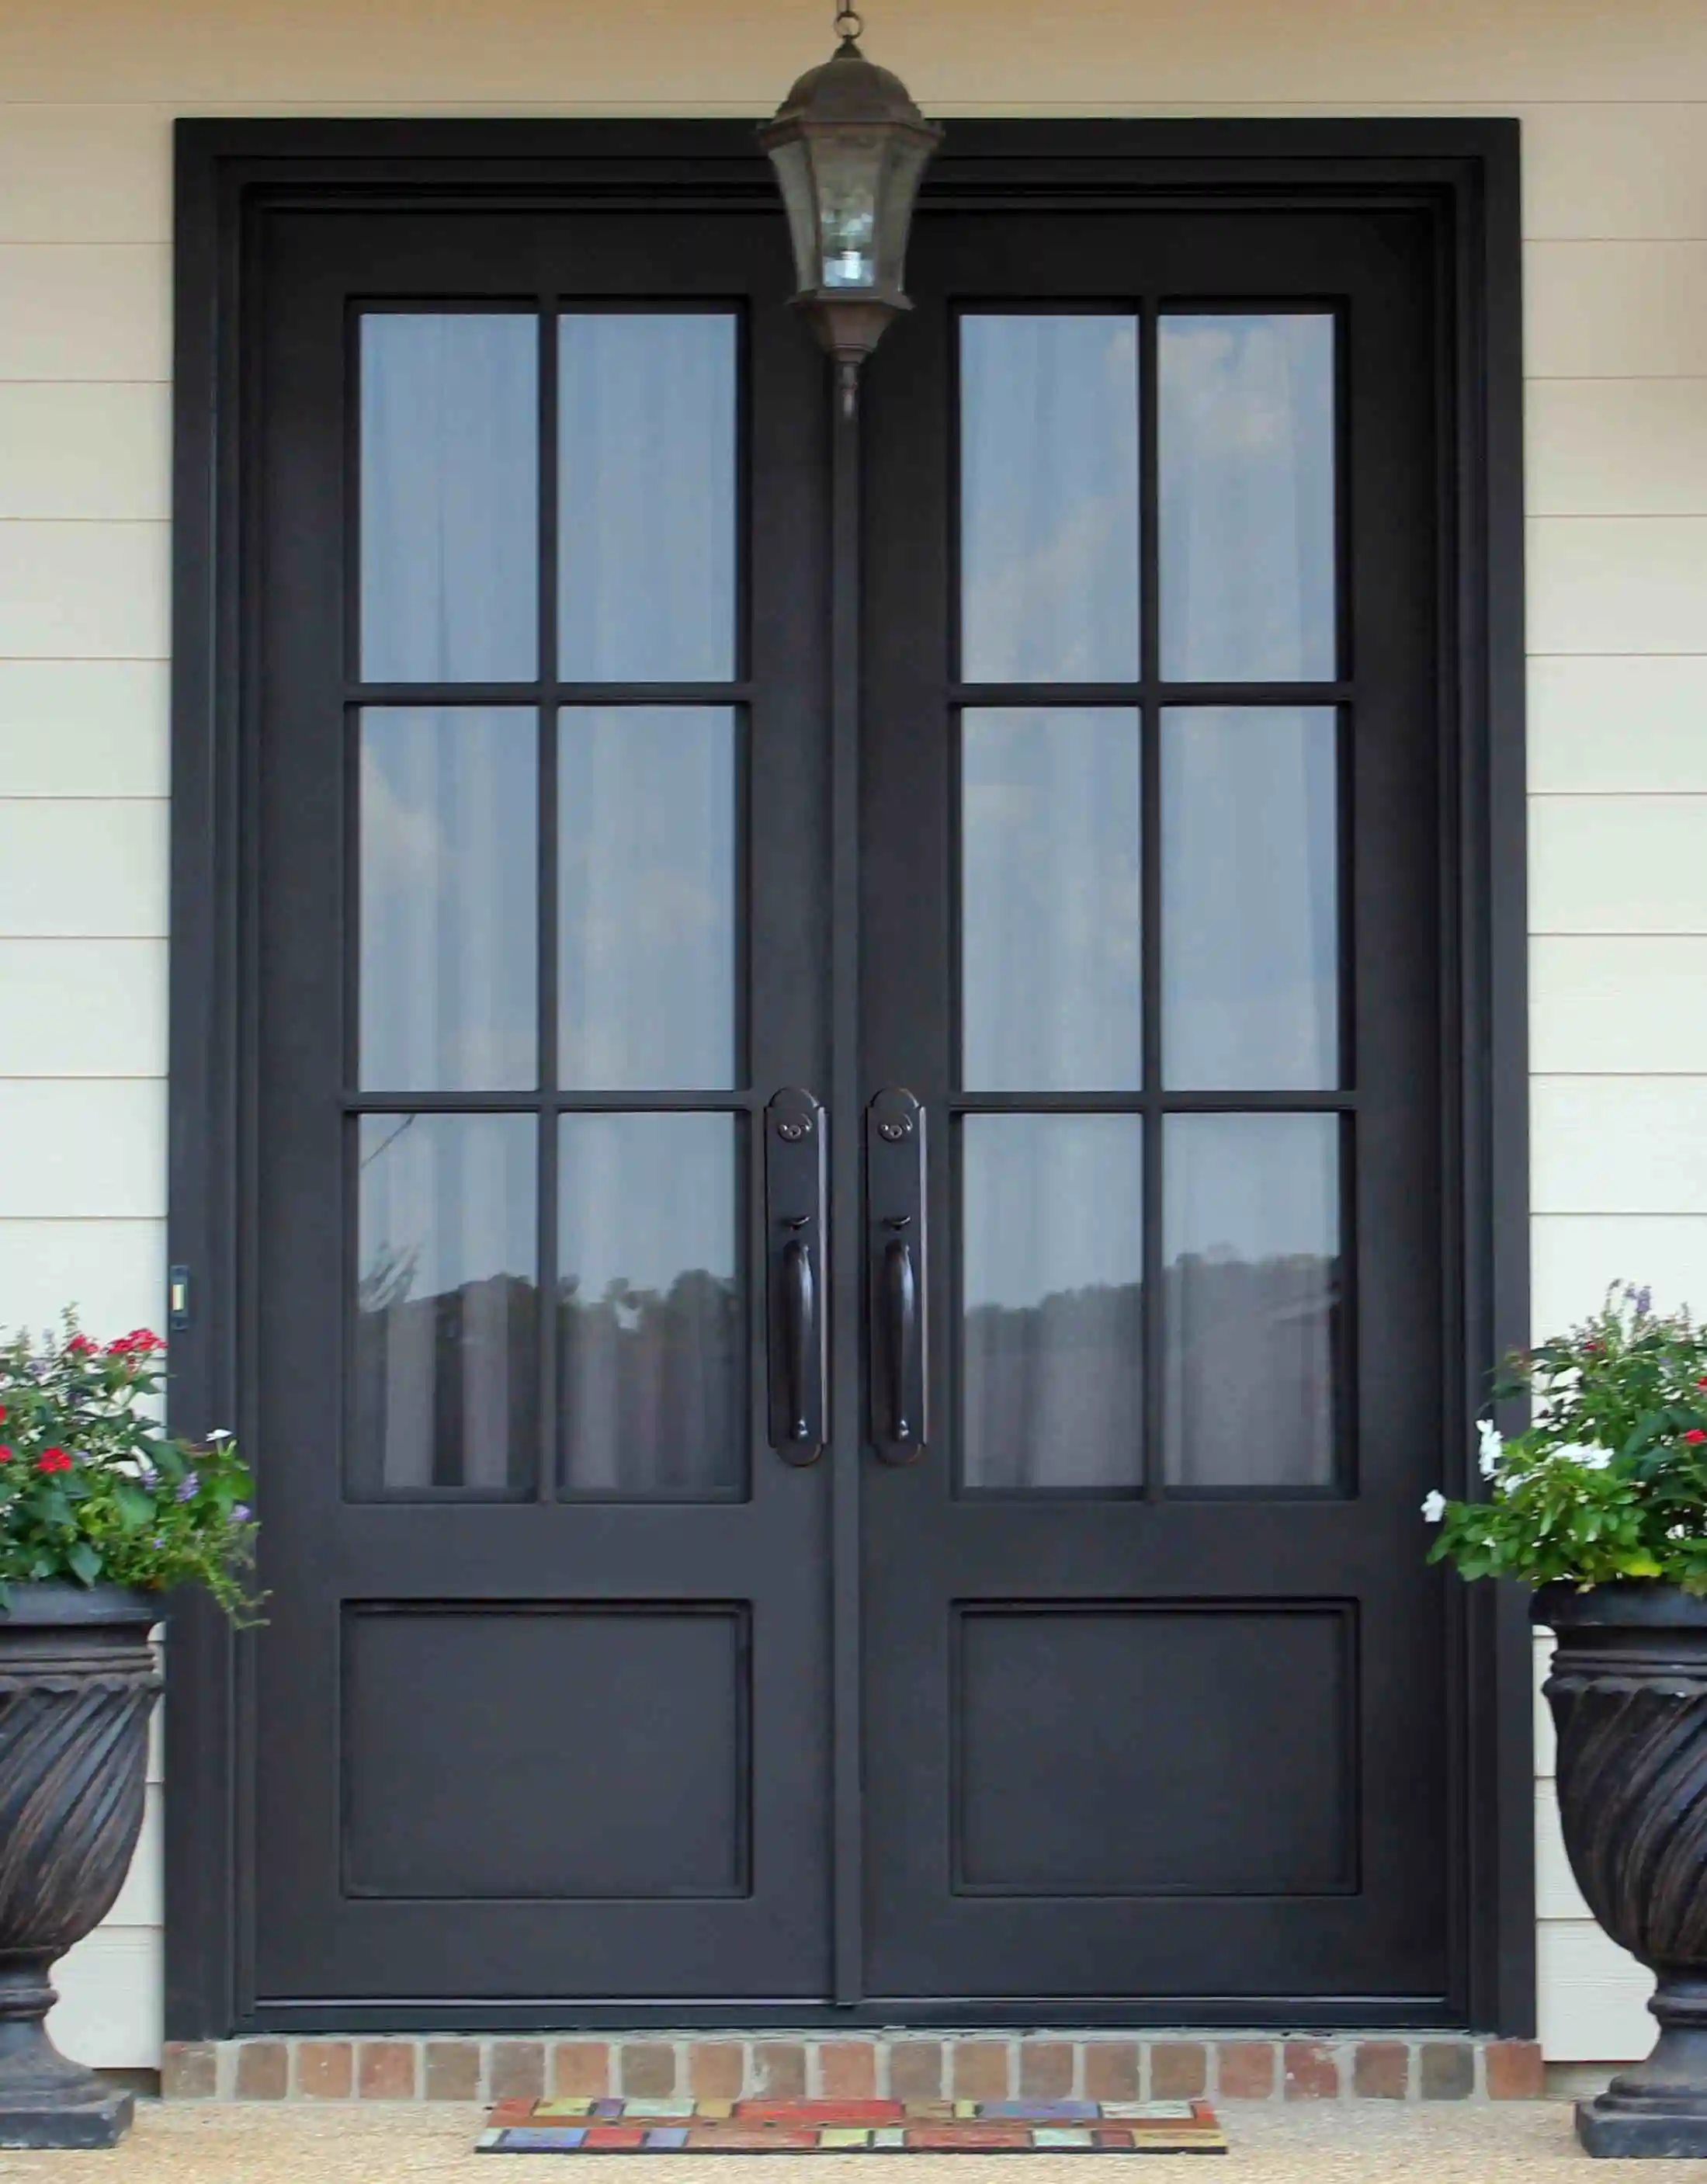

A threshold is easy to overlook until the front door starts sticking, a draft appears at the floor, or rain finds its way inside. It is the fixed piece at the base of the opening where the door, sweep, weatherstripping, floor, and exterior landing all meet. Replacing it can restore a clean seal and a more reliable entry, but it is not a cosmetic swap when water has been moving into the framing below.
The best starting point is to identify what actually failed. A worn sweep, an adjustable cap that needs attention, and a rotted subsill can all look like the same gap from inside the house. This guide helps you diagnose the condition, choose a compatible threshold, and recognize when the repair has reached the point where a complete entry assessment is the safer choice.
Diagnose the problem before replacing the threshold
Start with the door closed on a dry day. Look for daylight at the bottom edge, a draft near the floor, a sweep that is split or flattened, or a door that scrapes when it swings. Then inspect after rain. Damp flooring just inside the door, staining at the lower jambs, swelling trim, or recurring moisture at one corner suggests a water-management problem, not simply a worn strip of metal or wood.
A threshold works with several other parts. The sweep or bottom seal on the moving door should meet it consistently. The weatherstripping at the sides and top should let the door sit in the same position each time it latches. Outside, the landing, sill, caulk, flashing, and drainage need to direct water away from the opening. The Home Depot threshold replacement guide also distinguishes the threshold from the sill below it, which is important because damage below the visible piece changes the scope of the repair.
Open and close the door slowly. If it has to be lifted to latch, rubs at one corner, or has an uneven gap, resolve that operation issue before selecting a thicker threshold or sweep. A shifted hinge, loose jamb, settlement issue, or damaged frame can keep a new threshold from sealing just as poorly as the old one. Adding material to force a seal may make the door hard to use without correcting the cause.
Take photos before you remove anything. Photograph the door from inside and outside, the threshold profile, the sweep, lower corners, exterior landing, and any stained or soft-looking material. A few accurate photos help when comparing profiles, ordering a replacement part, or deciding whether an installer needs to inspect the complete opening.

Choose a replacement that fits the door system
There is no universal exterior threshold. Some are aluminum with an adjustable cap or gasket. Others are wood, composite, or part of a prehung door system. The profile matters as much as the overall width. It must sit under the door correctly, meet the sweep without excessive friction, fit around the jambs, and work with the interior floor and exterior landing.
Measure the visible opening, but do not buy only from that number. Record the width between the jambs, the depth from inside to outside, the height relative to the finished floor, and the shape of the old profile. Note whether it has a raised sealing surface, a flexible gasket, an adjustment screw, or horns that extend under the exterior casing. A replacement may need to be trimmed, but cutting a profile too short or changing its sealing edge can create a new path for water.
The This Old House threshold guide explains that exterior thresholds commonly pitch outward so water is not encouraged back toward the home. That outward drainage is more important than making the new piece look identical from inside. If exterior brick, stone, pavers, or a porch coating now sits too high against the threshold, a new threshold alone cannot create the drainage space the opening needs.
For a custom, insulated, or decorative entry, first check the door manufacturer’s care information or ask for the correct replacement profile. A threshold may be integrated with the frame, thermal break, multi-point lock setup, or drainage detail. An improvised substitute can alter the sweep contact, lock alignment, or water path. Matching a system part is often less dramatic and more successful than adapting a generic one.
Prepare the opening before the old threshold comes out
Choose a dry weather window and arrange a temporary way to secure the opening if the work runs long. Threshold replacement can reveal hidden damage, so it is wise to have the new part, basic tools, cleaning supplies, and a plan for a larger repair before cutting into the old material. Keep the work area clear of rugs and protect nearby flooring from grit, fasteners, and tools.
Gather only the equipment the existing construction calls for. That often includes a tape measure, straightedge, pencil, utility knife, pry bar, drill or driver, hammer, handsaw or appropriate power saw, eye protection, and exterior-rated sealant recommended for the assembly. A reciprocating saw can be useful for cutting an old threshold into manageable sections, but it can also damage finished flooring, jambs, or concealed details. Use a controlled cut and stop before the blade reaches anything you have not identified.
Before removal, inspect the lower jambs and the surface under the threshold as much as possible. Soft wood, rusted fasteners, crumbling masonry, damaged subflooring, or a floor that is visibly out of level are not minor details to cover with caulk. A weatherization field guide from the Rhode Island Department of Human Services likewise calls for checking the floor under an entry door and the opening’s level before the replacement assembly is installed.
Do not block weep paths or drainage channels with sealant. Exterior doors need a controlled route for incidental water to move outward. The goal is not to fill every visible joint. It is to follow the replacement part and door-system instructions so the threshold seals at the right interfaces while water is still allowed to exit where the design intends.
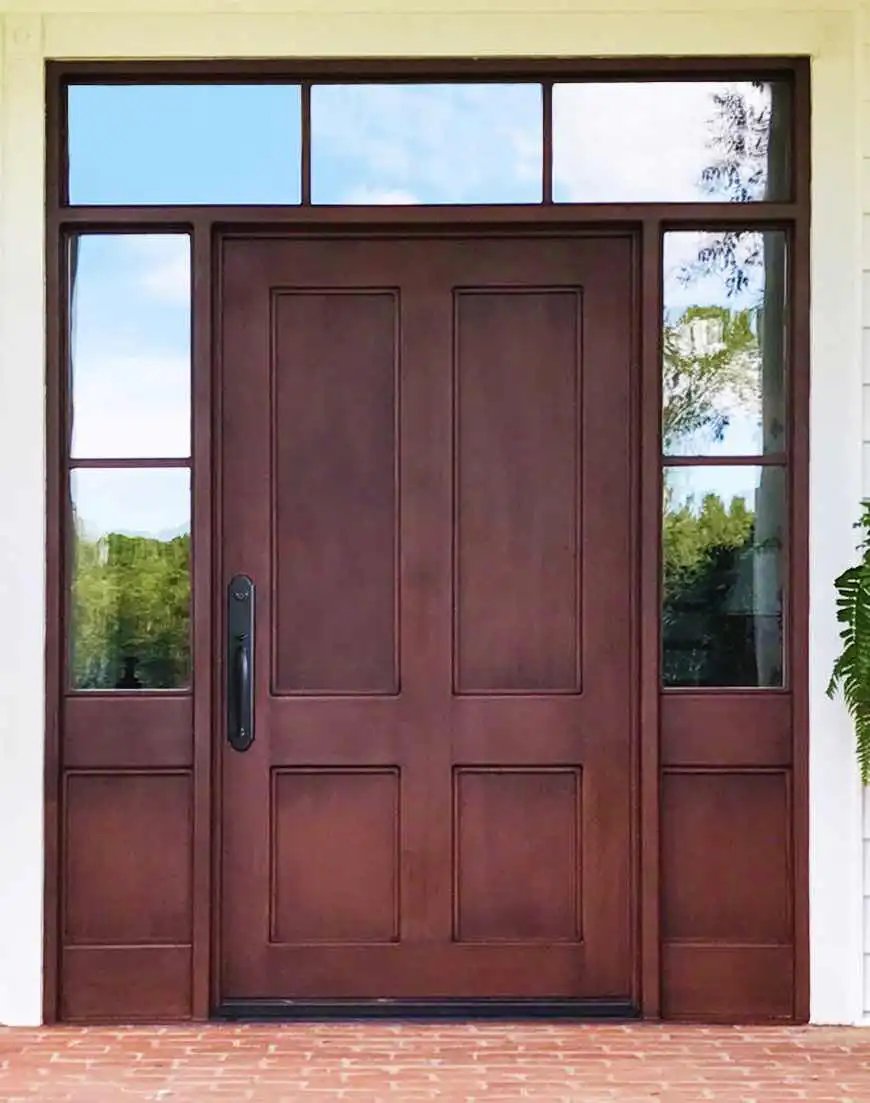
Remove the old threshold carefully
Remove any weatherstripping or caulk that prevents you from seeing the joint, then locate visible screws, fasteners, or trim. Some thresholds slide out once their fasteners are removed. Others are captured under stops or run beneath the jambs, which makes cutting the old piece into sections the safer approach. Work slowly at each end, because the horns of the threshold can extend beneath exterior casing or into parts of the frame that should remain undisturbed.
Protect the door and finished floor before using a saw or pry bar. If the door slab is easy to remove and the system allows it, taking it off can create room to work, but it is not automatically necessary. Do not force the old threshold upward against the jambs. If it resists, look for another fastener, sealant bond, or section that needs to be cut rather than applying more leverage.
Once the old threshold is out, clean the opening thoroughly. Remove loose debris, old sealant, decayed material, and fasteners that no longer serve the assembly. Then inspect the subsill and lower jambs in full view. If the substrate is firm, dry, and level, a threshold-only repair may still be appropriate. If water has softened the wood, corroded metal, or caused the frame to lose alignment, stop and plan the repair around the damaged structure first.
It is tempting to cover an uneven surface with a thick bead of sealant. That shortcut can make the threshold rock, hold moisture, or prevent the door from closing correctly. Build a sound, level bearing surface according to the door system’s requirements. If the repair needs structural wood replacement, flashing changes, or correction of exterior grade, it is more accurate to think of it as an opening repair, not a simple threshold swap.
Fit and install the new threshold without rushing the seal
Use the old threshold as a reference, not as a template you must copy blindly. Transfer the width and jamb notches carefully, then cut conservatively. Test-fit the new piece several times before applying any sealant or driving fasteners. It should sit flat, fit the jambs without forcing them apart, and allow the door to close freely. A threshold that is too tall can make the sweep drag and can put strain on hinges or hardware.
Check the exterior edge before fastening. The threshold should support drainage away from the house and should not create a pocket where water can stand. If the exterior landing slopes toward the door or sits high against the threshold, resolve that site condition before relying on a bead of sealant. Water that backs up at the opening can bypass a fresh threshold and damage the same hidden materials that caused the first failure.
Apply sealant only where the threshold manufacturer and door system call for it. A continuous, correctly located seal can block wind-driven water at the back edge or under the sill, but a misplaced bead can trap water or close a drainage route. Set the threshold into place, fasten it as specified, and clean any excess before it cures. Never cover adjustment screws, drainage ports, or moving seals with sealant.
Reinstall or adjust the door sweep only after the threshold is secure. The sweep should make even contact without folding, scraping excessively, or requiring the door to be pushed hard against the frame. If the door does not latch naturally after the threshold is installed, do not shave, bend, or force components at random. Recheck the height, the door alignment, and the profile match before making a deliberate adjustment.
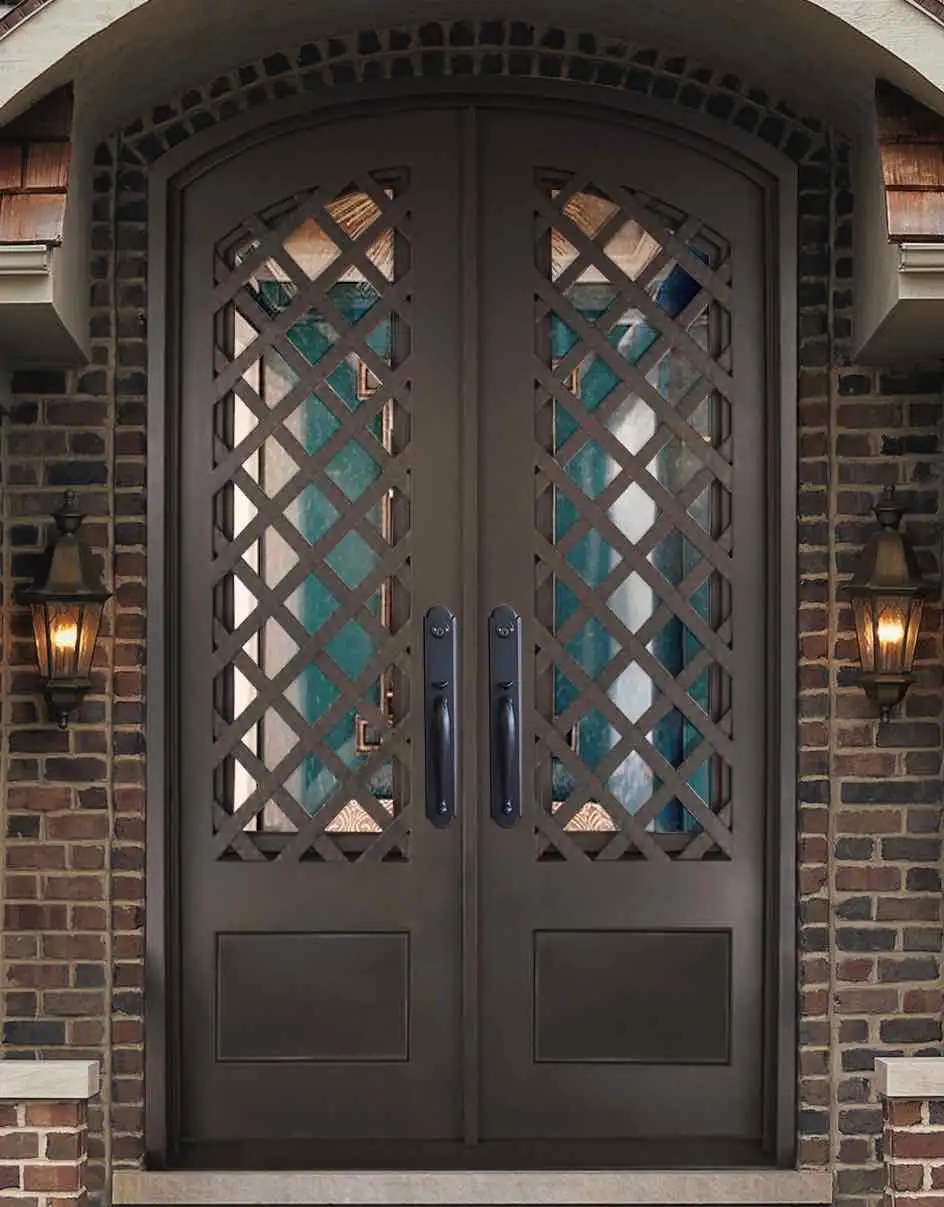
Test the seal, swing, and drainage after installation
Close and latch the door from both sides. It should swing without rubbing, lock without a lift or shove, and meet the threshold consistently across the full width. Check the sweep visually and with a simple paper test at several locations. If one area is loose while another is overly compressed, the issue may be door alignment rather than the threshold itself.
Inspect the outside edge after the first rain or by carefully observing a controlled water test that does not spray water directly into joints that are not designed to resist it. Look for water moving away from the door, not pooling at the edge or appearing on the interior floor. Check the lower corners, the ends of the threshold, and the surrounding trim again after the assembly has had time to settle.
A successful repair is quiet in daily use. The entry should not drag, leak, rattle, or need a special trick to latch. Keep leaves, mulch, and debris away from the exterior edge, and periodically inspect the sweep, gasket, sealant, and lower finish for the earliest signs of wear. Small problems are easier to correct before water begins working into the frame.
Protect a custom iron entry at the threshold
An iron entry is a complete system, not a decorative door set on top of a generic sill. The frame, glass, finish, threshold, sweep, weatherstripping, hardware, and surrounding surfaces need to work together. Be especially cautious around painted metal, glass stops, decorative lower rails, multi-point locks, and pairs of doors with an astragal. A replacement that changes the bottom seal can affect how the whole system closes.
Before making a repair on a custom door, document the existing profile and condition. Take close photos of the threshold, sweep, lower corners, and any water staining. If the door has a known manufacturer or installer, ask about compatible parts before modifying an integrated detail. For routine maintenance around a sound door, the Journal’s weatherstripping guide and iron door cleaning guide can help keep seals and finished surfaces in better condition.
Know when threshold replacement needs professional help
Stop and call a qualified door or building professional if you find rot, recurring water intrusion, a soft or damaged subsill, extensive corrosion, cracked or loose glass, an opening that is out of square, a threshold built into a prehung frame, or a door that will not latch after basic adjustment. Those conditions can point to a larger issue behind the visible threshold, and covering them can make the eventual repair more expensive.
Luxury Iron Doors plans custom entries around the whole opening, including configuration, glass, finish, fabrication, delivery, and installation. When a threshold problem shows that the existing entry is no longer performing as one system, explore custom wrought iron doors, browse the door collection, or share photos and approximate measurements to start a more useful conversation.
Start with the whole opening
A durable entry begins where the door meets the home.
When a worn threshold points to a larger door or frame problem, Luxury Iron Doors can help shape a complete custom entry around the opening and the way it needs to perform.
Request a quoteFrequently asked questions
Can I replace a front door threshold without replacing the door?+
Sometimes. A threshold can often be replaced when the door, jambs, and subsill are sound and the replacement profile is compatible. If the threshold is integrated with a prehung frame, or if water has damaged the framing below it, replacing the threshold alone may not solve the problem.
What is the difference between a door threshold and a door sweep?+
The threshold is the fixed piece at the bottom of the opening. A door sweep is attached to the moving door and seals against the threshold or sill. A worn sweep can cause a draft even when the threshold is sound, while a damaged threshold can keep a new sweep from sealing properly.
Why is water coming in under my front door?+
Water can enter below a front door because of a failed threshold seal, worn sweep, missing caulk, poor exterior drainage, a damaged subsill, or a door that no longer sits evenly in its frame. Find the route of the water before sealing over it, because trapped water can damage the opening.
Should a front door threshold slope toward the outside?+
An exterior threshold should help water move away from the home, but the exact profile and installation details must match the door system and surrounding construction. A threshold that traps water, sits below adjacent exterior paving, or has blocked drainage needs a closer assessment before replacement.